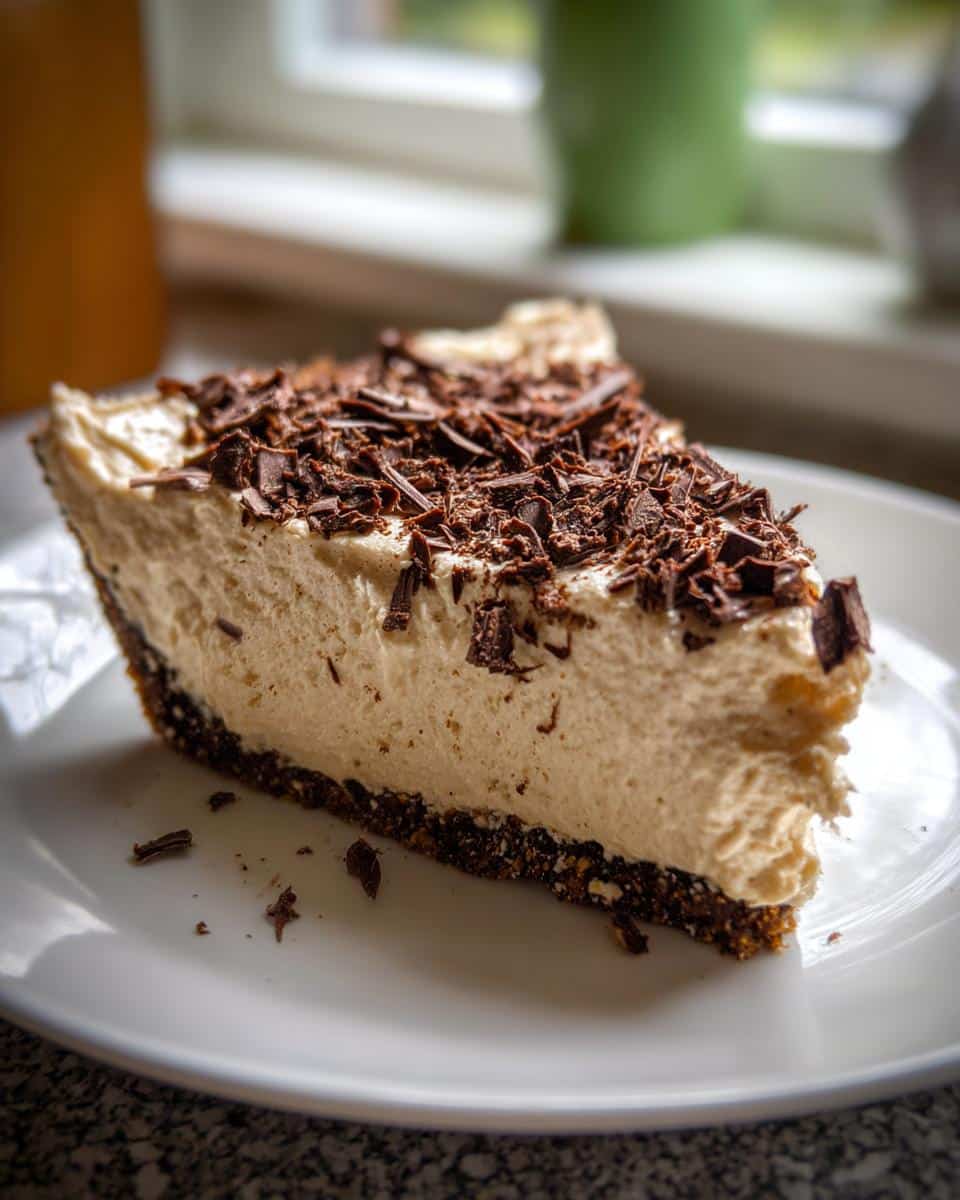
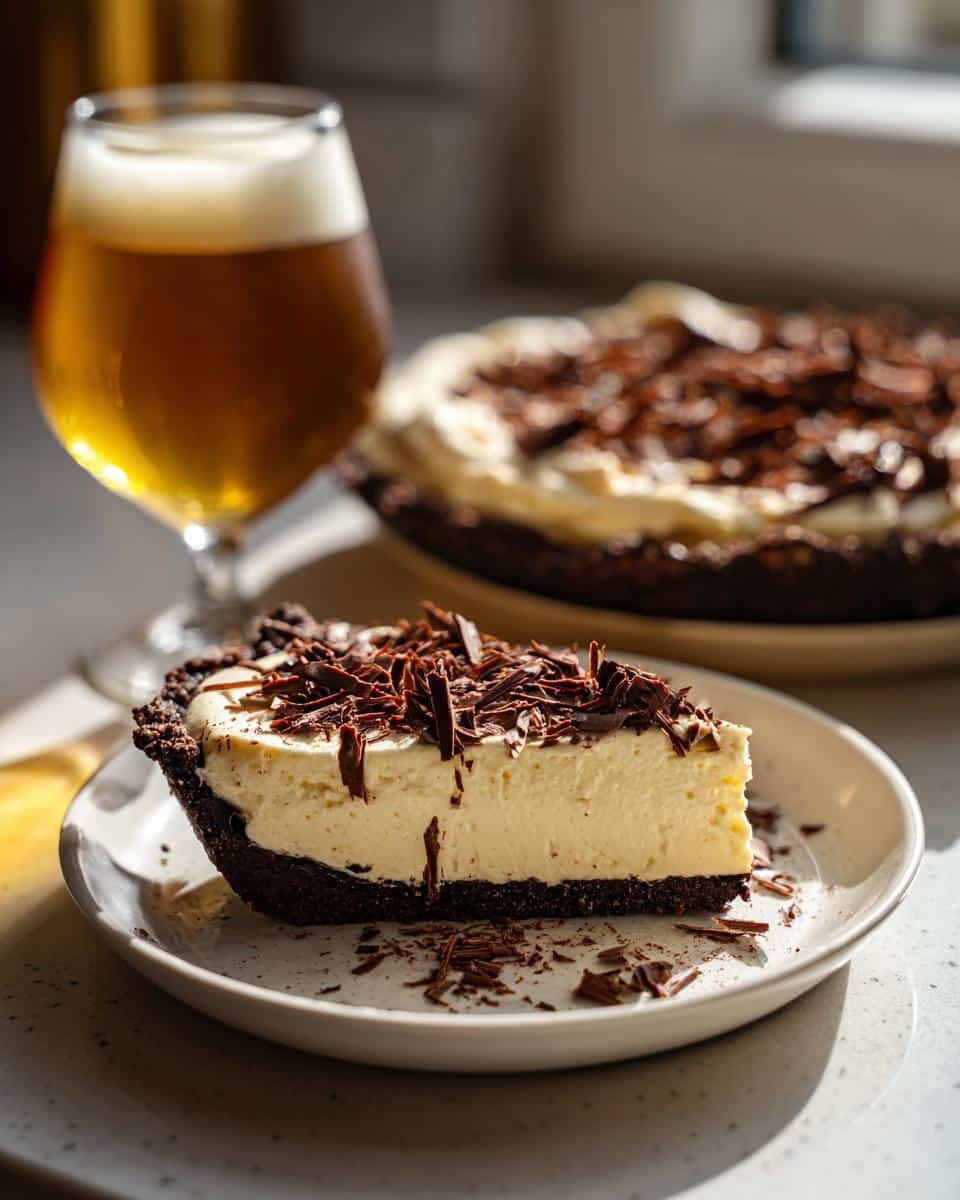
Oh my goodness, let me tell you about my absolute favorite dessert: Irish Coffee Pie! Imagine the cozy richness of a warm Irish coffee blended perfectly into a creamy, dreamy pie. It’s like a hug in dessert form! Every bite is a delightful combination of bold coffee flavors, a hint of whiskey, and light, fluffy cream that just melts in your mouth. It’s not just a pie; it’s an experience that elevates any dessert time into something truly special. Whether you’re hosting friends or just treating yourself, this pie makes you feel fancy without being fussy. Trust me, once you try it, you’ll wonder how you ever lived without this delicious slice of Irish goodness! So, let’s dive in and make this pie together!
Ingredients for Irish Coffee Pie
Getting the ingredients right is key to making this Irish Coffee Pie a showstopper! Here’s what you’ll need to whip up this delightful dessert:
1 pre-baked pie crust (store-bought or homemade, your choice!)
1 cup brewed Irish coffee (make sure it’s strong and flavorful for the best results)
1 cup heavy cream (this will give your pie that luscious texture)
1/2 cup sugar (adjust to taste if you prefer it a little sweeter!)
1/4 cup Irish whiskey (this adds a lovely depth of flavor, trust me!)
2 tablespoons gelatin (this is what helps set the pie)
1/4 cup cold water (to dissolve the gelatin)
Chocolate shavings for garnish (because who doesn’t love a little extra chocolate on top?)
Make sure to gather everything before you start, so you can dive right into the fun of pie-making! It’s all about the love and good vibes in the kitchen, and having your ingredients ready will make everything flow smoothly.
How to Prepare Irish Coffee Pie
Now that we’ve gathered all our ingredients, let’s get into the fun part: making this delicious Irish Coffee Pie! Trust me, it’s easier than it sounds and so worth it.
First things first, the pie crust! You want to start with a pre-baked pie crust—this is super important because it gives your filling a solid base and keeps it from getting soggy. If you’re using a store-bought crust, just follow the package instructions for baking. If you’re feeling adventurous and want to make your own, go for it! Just make sure it’s completely cooled before we fill it up.
Dissolve Gelatin
Next, let’s tackle the gelatin. In a small bowl, sprinkle the gelatin over 1/4 cup of cold water and let it sit for about 5 minutes. This is called blooming. It’s a crucial step that helps give our pie that perfect creamy texture. Once it’s all bloomed and looks a bit spongy, you’re ready to move on!
Make the Coffee Mixture
Now, grab your trusty saucepan! Combine the brewed Irish coffee, sugar, and Irish whiskey in it. Heat the mixture over low heat until it’s warm but not boiling—just a gentle heat to dissolve the sugar. Stir it well to mix everything together, and once the sugar is dissolved, take it off the heat. Let it cool for a few minutes so it’s not too hot when we add the gelatin.
Combine Ingredients
Now comes the fun part! Add the bloomed gelatin to your coffee mixture and stir until everything is smooth and combined. It’s like magic watching it all come together! Let it cool for another 10-15 minutes, just to make sure it’s not hot when we fold in the cream.
Whip the Cream
While the coffee mixture is cooling, let’s whip the heavy cream. Using a mixer, whip the cream until soft peaks form. This fluffy cream is what gives our pie that delightful lightness and makes every bite feel like a cloud of deliciousness!
Fold and Chill
Finally, gently fold the whipped cream into the cooled coffee mixture. Do this slowly, so you don’t deflate the cream—you want it to stay light and airy! Once it’s all combined, pour this heavenly mixture into your pre-baked pie crust. Now, it’s time for the magic to happen! Cover it with plastic wrap and pop it into the refrigerator to chill for at least 4 hours, or overnight if you can wait. This allows it to set properly, and I promise, the flavor just gets better with time!
Tips for Success
Alright, my friend, let’s make sure your Irish Coffee Pie turns out absolutely perfect! Here are my top tips for success that I swear by:
Adjust the Sweetness: Everyone has different taste buds, right? Feel free to tweak the sugar in the coffee mixture. If you prefer it a bit sweeter, add a touch more sugar! Just remember that the cream will add some richness, so balance is key!
Chill Overnight: If you can resist the temptation to dive in right away, chill the pie overnight! This allows all those wonderful flavors to meld together beautifully, and the texture becomes even more delightful. Trust me, it’s worth the wait!
Use Strong Coffee: For the best flavor, make sure your brewed Irish coffee is nice and strong. You want that coffee kick to shine through! If you’re not a fan of strong coffee, go for a medium brew, but just know it may mellow the flavor a bit.
Don’t Rush the Cooling: Let the coffee mixture cool adequately before adding the whipped cream. This will help maintain that fluffy texture we love! If it’s too hot, it can deflate your cream, and nobody wants a sad pie!
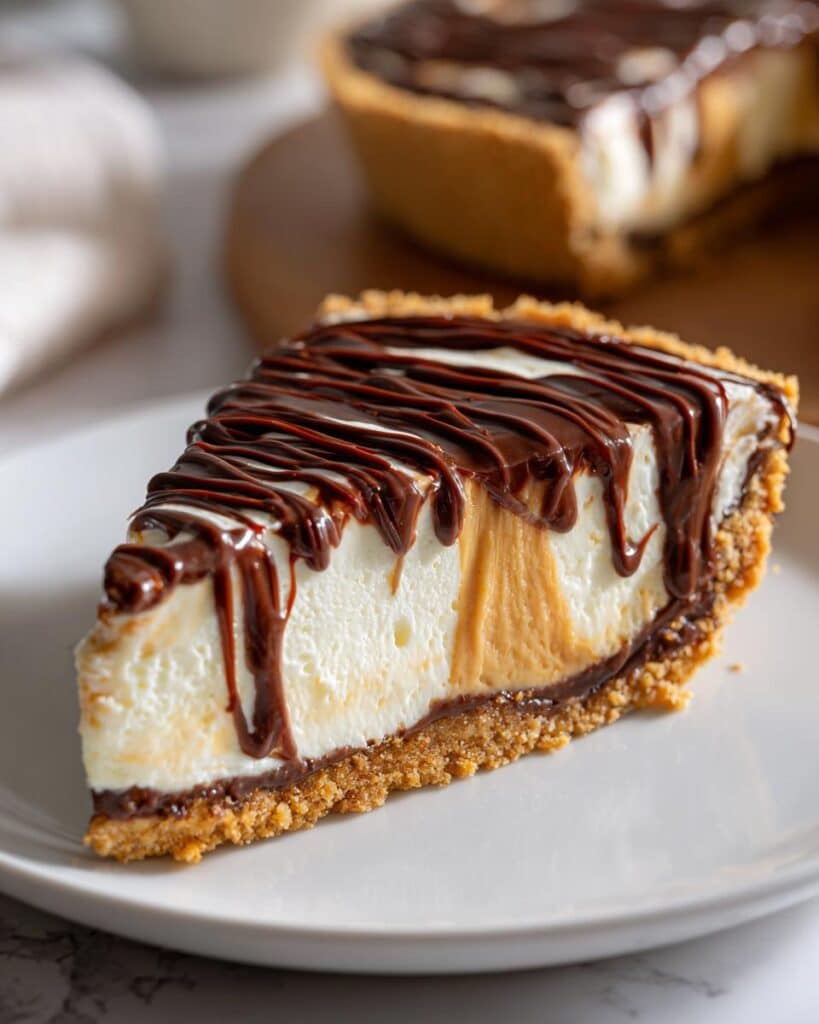
Garnish Generously: When it comes time to serve, don’t hold back on those chocolate shavings! They not only look pretty but also add a nice touch of chocolatey goodness that complements the flavors beautifully.
With these tips in your back pocket, you’re all set to impress everyone with your amazing Irish Coffee Pie! Happy baking!
Nutritional Information
Alright, let’s talk numbers! Here’s what you can expect in terms of nutritional values for one slice of this delightful Irish Coffee Pie. Keep in mind that these are estimates, but they’ll give you a good idea of what you’re indulging in:
Calories: 350
Fat: 20g
Saturated Fat: 12g
Unsaturated Fat: 8g
Trans Fat: 0g
Carbohydrates: 32g
Sugar: 24g
Fiber: 1g
Protein: 3g
Cholesterol: 80mg
Sodium: 80mg
This pie is definitely a treat, so enjoy it in moderation! It’s rich and satisfying, making every slice a special occasion. Happy indulging!
FAQ Section
Got questions? Don’t worry, I’ve got answers! Here are some common queries you might have about making your Irish Coffee Pie, along with a few handy tips:
Can I substitute the Irish whiskey?
Absolutely! If you’re looking for a non-alcoholic version, you can skip the whiskey altogether or replace it with a splash of vanilla extract for that warm, rich flavor. If you prefer another spirit, try using coffee liqueur or even a bit of rum for a different twist!
Is there a way to make this pie dairy-free?
You bet! For a dairy-free version, use coconut cream instead of heavy cream and a dairy-free pie crust. Just make sure your coffee is brewed with non-dairy milk if you want to keep it completely dairy-free—your pie will still be delicious!
How do I store leftovers?
To keep your Irish Coffee Pie fresh, cover it with plastic wrap or store it in an airtight container in the refrigerator. It should last about 3-4 days, but trust me, it’s so good that it probably won’t last that long!
Can I freeze this pie?
Yes, you can freeze it, but I recommend freezing slices rather than the whole pie. Just wrap each slice tightly in plastic wrap and then place them in a freezer-safe container. When you’re ready to enjoy, let it thaw in the fridge overnight for the best texture!
What if I don’t have gelatin?
If you don’t have gelatin on hand, you can use agar-agar as a vegetarian alternative. Just follow the package instructions for how to use it, as it can behave a bit differently than traditional gelatin. Your pie will still set beautifully!
Can I make this pie ahead of time?
Definitely! In fact, I recommend making it a day in advance if you can. The flavors deepen and the texture improves as it sits in the fridge overnight. Just make sure to keep it covered!
With these answers in mind, you’re all set to tackle any hiccups along the way! Enjoy the pie-making journey, and don’t hesitate to get creative with it!
Why You’ll Love This Recipe
Quick Preparation: With just a few simple steps, you can have this pie ready to chill in no time. It’s perfect for those spontaneous dessert cravings!
Delightful Flavor Combination: The incredible blend of rich Irish coffee and smooth whiskey creates a flavor explosion that will leave your taste buds dancing. It’s a match made in dessert heaven!
Vegetarian-Friendly: This pie is a great option for vegetarians, making it a crowd-pleaser at any gathering. Everyone can enjoy a slice of this delicious treat!
Impressive Presentation: With its creamy filling and elegant chocolate shavings on top, this pie looks as good as it tastes! It’s sure to wow your guests and make you feel like a culinary rockstar.
Storage & Reheating Instructions
Now that you’ve got this heavenly Irish Coffee Pie, let’s talk about how to store it and keep it fresh for as long as possible! First things first, if you have any leftovers (which I doubt will last long, but just in case!), you’ll want to cover the pie tightly with plastic wrap or transfer it to an airtight container. This will help keep it fresh in the refrigerator for about 3-4 days. Just remember, the flavors get even better as it sits, so it’s totally okay to enjoy it over a few days!
If you’re thinking about freezing some slices, that’s a great option too! Just wrap each slice individually in plastic wrap and then place them in a freezer-safe container. This way, you can pull out a slice whenever the craving hits! When you’re ready to enjoy, simply let it thaw in the fridge overnight for the best texture. No reheating needed—just serve it chilled and enjoy that creamy goodness!
So, whether you’re savoring it fresh or enjoying those delightful leftovers, you’re in for a treat! Happy indulging!
I share easy, flavorful recipes that make home cooking simple, fun, and totally satisfying. Let's get in the kitchen and create something delicious together!


What do you think?
Share your thoughts, tips, or variations on this recipe!