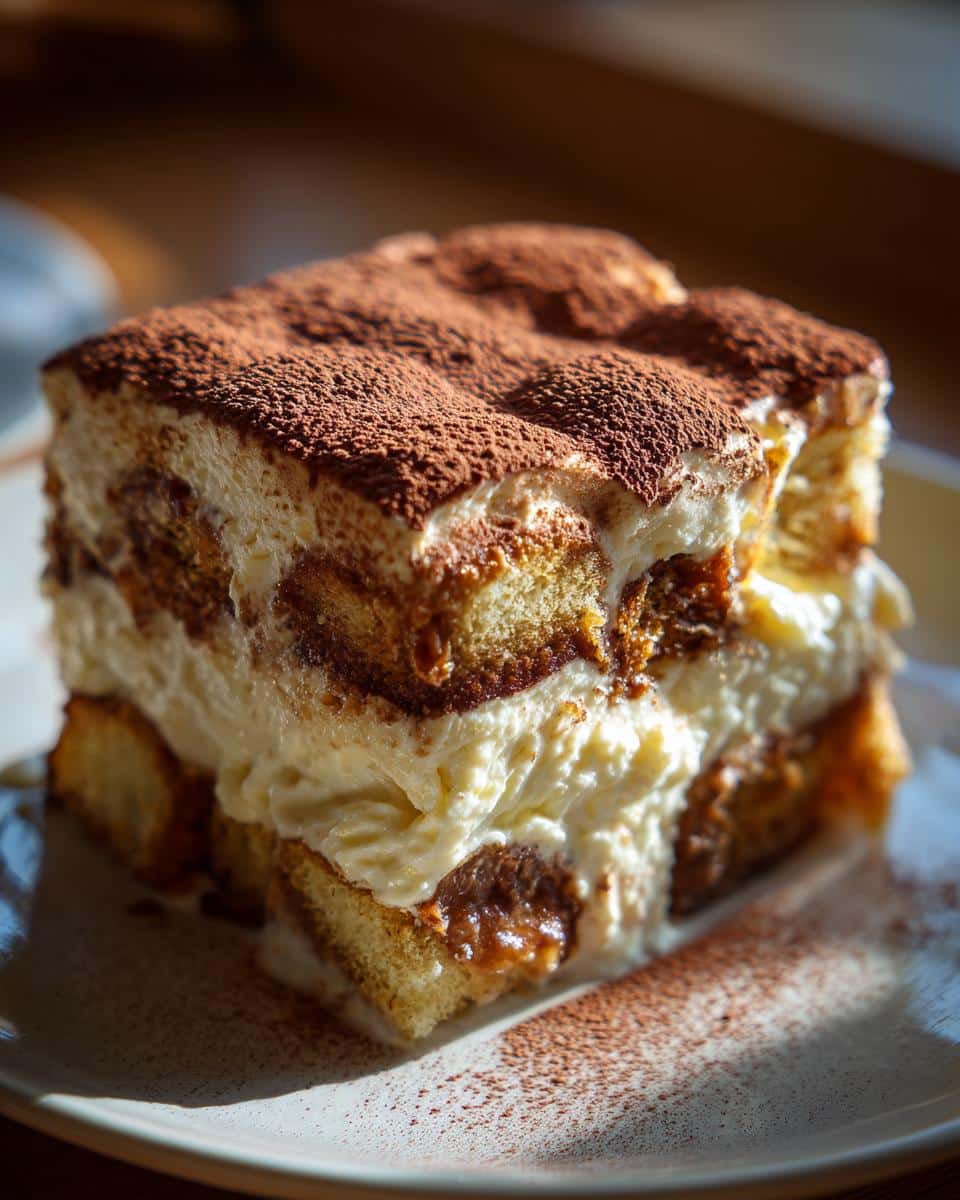
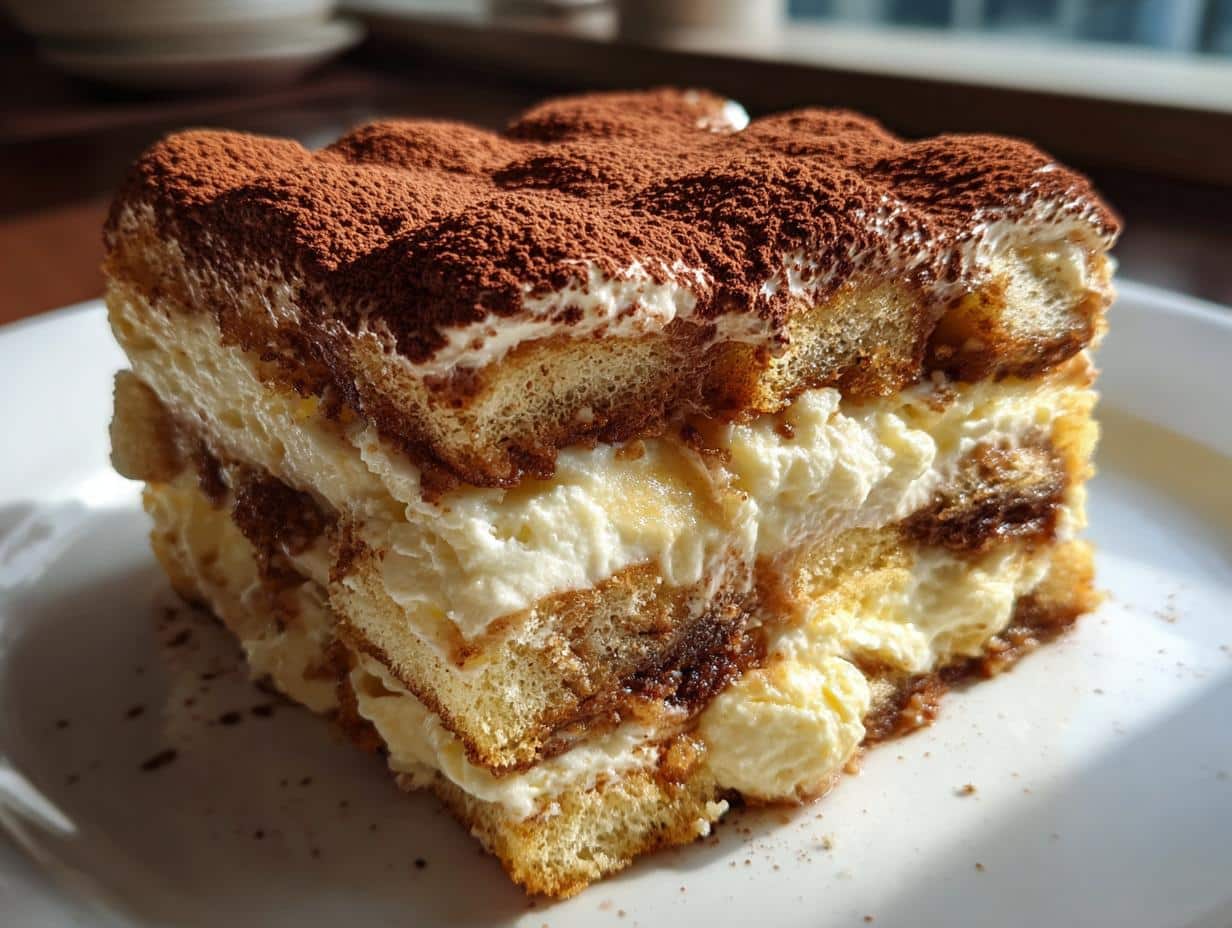
Oh my goodness, have I got a treat for you! If you love classic tiramisu, then you’re going to absolutely adore this Panettone Tiramisu! Seriously, it’s like a cozy hug in dessert form. I remember the first time I made this for a holiday gathering; everyone was raving about it! The fluffy layers of airy panettone soaked in rich coffee, combined with that luscious mascarpone cream, create a heavenly experience that’s just so special. Plus, using panettone gives it that festive touch that makes it perfect for any occasion. Trust me, this twist on a traditional favorite is a game-changer! You won’t believe how easy it is to whip up this delightful dessert that’s sure to impress your family and friends.
Ingredients List
1 panettone, sliced
1 cup coffee, brewed and cooled
1 cup mascarpone cheese
1/2 cup heavy cream
1/4 cup sugar
2 tablespoons coffee liqueur
Cocoa powder, for dusting
How to Prepare Panettone Tiramisu
Alright, let’s dive into making this stunning Panettone Tiramisu! It’s super straightforward, and I promise you’ll be so proud of the finished product. Follow these steps, and you’ll be on your way to dessert heaven!
Step 1 – Prepare the Coffee
First up, we need to brew some fabulous coffee! I always opt for a strong blend because trust me, the flavor really shines through in this dessert. Brew about 1 cup of coffee and let it cool to room temperature. You can even pop it in the fridge to speed things up a bit if you’re in a hurry. Just don’t forget about it! We want that rich coffee flavor to soak into our panettone slices perfectly.
Now, for the creamy goodness! In a mixing bowl, combine 1 cup of mascarpone cheese, 1/2 cup of heavy cream, 1/4 cup of sugar, and 2 tablespoons of coffee liqueur. I like to use a hand mixer for this, but a whisk works just fine too! Mix until everything is smooth and creamy. You’ll want it to be thick and luscious, ready to envelop those panettone slices.
Step 3 – Dip the Panettone
Next, it’s time to dip! Take your sliced panettone and dip each piece briefly into the cooled coffee. Be careful not to let them soak too long; just a quick dip on each side will do! We want them moist, but not soggy—nobody likes a mushy dessert!
Step 4 – Layering the Dish
Now comes the fun part—layering! Grab your favorite dish (a clear one is lovely for presentation) and start layering the dipped panettone. Spread a generous layer of the mascarpone mixture between each layer of panettone. Make sure to distribute evenly so every bite has that creamy goodness. Keep going until you use all your ingredients, ending with a layer of mascarpone on top. It’s looking good already!
Step 5 – Final Touches
For the final flourish, dust the top with cocoa powder. This adds a lovely contrast and a touch of elegance. Now, cover your dish with plastic wrap and refrigerate for at least 4 hours—if you can, let it chill overnight! This waiting is so worth it, as it allows all the flavors to meld beautifully. When you’re ready to serve, just slice, and enjoy the delightful layers of your Panettone Tiramisu!
Nutritional Information
Now, let’s chat about the numbers behind this delicious Panettone Tiramisu! Keep in mind that these values are estimates and can vary based on brand and portion sizes. For each slice, you’re looking at approximately 320 calories, with 20 grams of fat, including 10 grams of saturated fat. You’ll also get about 5 grams of protein and 30 grams of carbohydrates. Plus, it has around 18 grams of sugar, which adds to that delightful sweetness. It’s a rich treat, so enjoy every bite guilt-free and in moderation—trust me, it’s worth it!
Tips for Success
To ensure your Panettone Tiramisu turns out absolutely perfect, here are a few handy tips! First, choose a high-quality panettone—one that’s fresh and flavorful makes all the difference. If you can, go for one that’s slightly aged; it absorbs the coffee better and adds depth to the dessert. When brewing your coffee, opt for a strong blend to really enhance that rich flavor—trust me, it’s worth it!
Also, don’t rush the refrigeration process! Allowing it to chill for at least 4 hours (or overnight if you can wait) lets all those delicious flavors meld together beautifully. If you want to get adventurous, consider adding a splash of flavored liqueur like amaretto or hazelnut for a unique twist. And don’t forget to adjust the sugar to your taste; I love a little less sweetness to balance the richness of the mascarpone. With these tips, you’ll impress everyone with this elegant dessert!
Variations of Panettone Tiramisu
Now, let’s get creative with some fun variations of this Panettone Tiramisu! You can switch up the liqueur to add a new flavor twist—try using amaretto for a nutty kick or even orange liqueur for a citrusy brightness. If you’re feeling adventurous, why not mix in some crushed hazelnuts or chocolate shavings between the layers for added texture? You can also top it off with a drizzle of caramel sauce or a sprinkle of cinnamon for a little extra flair. And hey, if you want to make it more festive, consider adding some crushed peppermint candies for a holiday twist. The possibilities are endless!
Storage & Reheating Instructions
Storing your leftover Panettone Tiramisu is super simple! Just cover the dish tightly with plastic wrap or transfer it to an airtight container and pop it in the fridge. It’ll stay fresh for up to 3 days, although I bet it won’t last that long once your family gets a taste! If you’re thinking of making it ahead, this dessert actually gets better with time, so feel free to prepare it a day in advance.
Now, reheating isn’t really necessary since this dessert is best enjoyed chilled. Just slice, serve, and savor every layer of that creamy goodness. If you want to, you could let it sit at room temperature for about 10-15 minutes before serving to soften it slightly, but it’s delicious straight from the fridge too!
Why You’ll Love This Recipe
It’s incredibly easy to prepare—perfect for both novice and seasoned cooks!
The unique twist of using panettone adds a festive flair that’s sure to impress.
Rich, creamy layers meld together for a flavor explosion in every bite.
It’s a no-bake dessert, so you can whip it up without turning on the oven!
Ideal for gatherings, potlucks, or holiday celebrations—everyone will be asking for seconds!
Can be made ahead of time, allowing you to relax before serving.
I share easy, flavorful recipes that make home cooking simple, fun, and totally satisfying. Let's get in the kitchen and create something delicious together!


What do you think?
Share your thoughts, tips, or variations on this recipe!