There’s something incredibly joyful about making your own BASIC VANILLA ICE CREAM at home! I still remember those hot summer days when my family would whip up a batch, the sweet aroma of vanilla filling the air as we gathered around the kitchen. This recipe is perfect for beginners—it’s super simple and requires just a handful of ingredients. Trust me, once you taste that creamy, homemade goodness, you’ll never want to go back to store-bought. So grab your ice cream maker and let’s dive into a delicious adventure that will keep you cool all summer long!
Ingredients for BASIC VANILLA ICE CREAM
2 cups heavy cream – This is the base of your ice cream, giving it that rich and creamy texture we all love.
1 cup whole milk – Whole milk adds to the creaminess and balances the richness of the heavy cream.
3/4 cup granulated sugar – The sugar sweetens the mixture; feel free to adjust based on your taste preference!
1 tablespoon pure vanilla extract – Trust me, using pure vanilla extract is key for achieving that deep, aromatic vanilla flavor.
1/2 teaspoon salt – A pinch of salt enhances the sweetness and rounds out the flavors beautifully.
How to Prepare BASIC VANILLA ICE CREAM
Step 1: Whisk the Ingredients
First things first, let’s get those ingredients ready! In a large mixing bowl, whisk together the heavy cream, whole milk, granulated sugar, vanilla extract, and salt. You want to mix it all together until the sugar is fully dissolved—this usually takes about 2-3 minutes of good whisking. You’ll know it’s ready when the mixture is nice and smooth, and the sugar crystals are nowhere to be found! If you want to be extra sure, you can even let it sit for a minute or two, then give it another quick whisk just to make sure everything’s well combined.
Step 2: Churn the Mixture
Now comes the fun part! Pour your beautifully whisked mixture into your ice cream maker. Follow the manufacturer’s instructions for churning; this usually takes about 20-25 minutes. You’re looking for that perfect soft-serve consistency—when it’s just thick enough to hold its shape but still silky smooth. If it seems a little too soft, don’t worry! It’ll firm up in the freezer later. Just keep an eye on it as it churns; you want to catch it at the right moment!
Once you’ve reached that dreamy soft-serve texture, it’s time to transfer the ice cream! Use a spatula to scoop the mixture into an airtight container. Make sure to pack it down gently to avoid any air pockets. Cover it tightly with a lid and pop it into the freezer. Now, here’s the hard part—let it freeze for at least 4 hours (or overnight, if you can resist!). This step is crucial for achieving that firm, scoopable ice cream we all love. Trust me, the wait will be worth it!
Tips for Making BASIC VANILLA ICE CREAM Perfectly
To make this BASIC VANILLA ICE CREAM truly shine, I’ve got some tried-and-true tips to share! First off, using high-quality vanilla extract is a game-changer. It makes all the difference in flavor—trust me, you’ll taste the love! If you’re feeling a little adventurous, consider adding an extra egg yolk to the mixture. It enriches the ice cream and gives it that delightful custard-like texture. Just be sure to whisk it in with the other ingredients.
Also, don’t skip letting your ice cream sit at room temperature for a few minutes before serving. This little trick makes scooping so much easier and helps release those wonderful flavors. I always do this, and it feels like a little act of kindness for my guests (and myself!). Follow these tips, and you’ll have everyone begging for more of your homemade ice cream magic!
Variations of BASIC VANILLA ICE CREAM
The beauty of BASIC VANILLA ICE CREAM lies in its versatility! You can easily transform this classic recipe into something uniquely yours with just a few simple additions. Here are some fun and delicious ideas to get you started:
Chocolate Chip Delight: Stir in a generous handful of chocolate chips during the last few minutes of churning for a sweet surprise in every scoop. You can also use chunks of your favorite chocolate bars for a more decadent treat!
Fruity Twist: Add in some fresh fruit or fruit puree—think strawberries, raspberries, or even mango! Just fold in the fruit gently after churning for a refreshing burst of flavor.
Coffee Lover’s Dream: Mix in a tablespoon or two of instant coffee granules to the base before churning, or brew some strong coffee and let it cool before adding it to the mix. It adds a delightful richness that coffee lovers will adore!
Mint Chocolate Chip: Add a few drops of peppermint extract for a fresh minty flavor, and then mix in chocolate chips. It’s like a cool breeze on a summer day!
Cookie Dough: Crumble up some cookie dough (homemade or store-bought) and fold it into the ice cream after churning. It’s like having little bites of cookie dough in every scoop—yum!
Nutty Banana: Mash one ripe banana and stir it into your base before churning, then add some chopped nuts for added crunch. You’ll love the creamy banana flavor paired with the nutty bits!
Feel free to experiment with any mix-ins or flavors that inspire you! Each variation brings its own charm, making your homemade ice cream adventures even more delightful. Enjoy the process of creating your perfect scoop!
Serving Suggestions for BASIC VANILLA ICE CREAM
Now that you’ve created this dreamy BASIC VANILLA ICE CREAM, let’s talk about how to serve it up for the ultimate treat! The beauty of vanilla ice cream is that it pairs wonderfully with so many different flavors and textures, making it a versatile staple in any kitchen.
Warm Desserts: Imagine scooping that creamy ice cream over a warm slice of apple pie or a fudgy brownie. The contrast of temperatures is pure magic! You could even drizzle some chocolate or caramel sauce on top for an extra indulgent touch.
Fresh Fruits: For a lighter option, serve your vanilla ice cream alongside fresh fruits like strawberries, peaches, or even a medley of tropical fruits. The sweetness of the fruit complements the creamy ice cream perfectly, creating a refreshing dessert.
Sauces and Syrups: Don’t forget about sauces! A drizzle of chocolate syrup, strawberry sauce, or even a homemade caramel sauce can take your ice cream to the next level. You could also sprinkle on some crushed nuts or sprinkles for added crunch and color!
Coffee or Tea: Pair your ice cream with a hot cup of coffee or a soothing herbal tea. The warmth of the drink contrasts beautifully with the cold ice cream, making it a delightful experience for your taste buds.
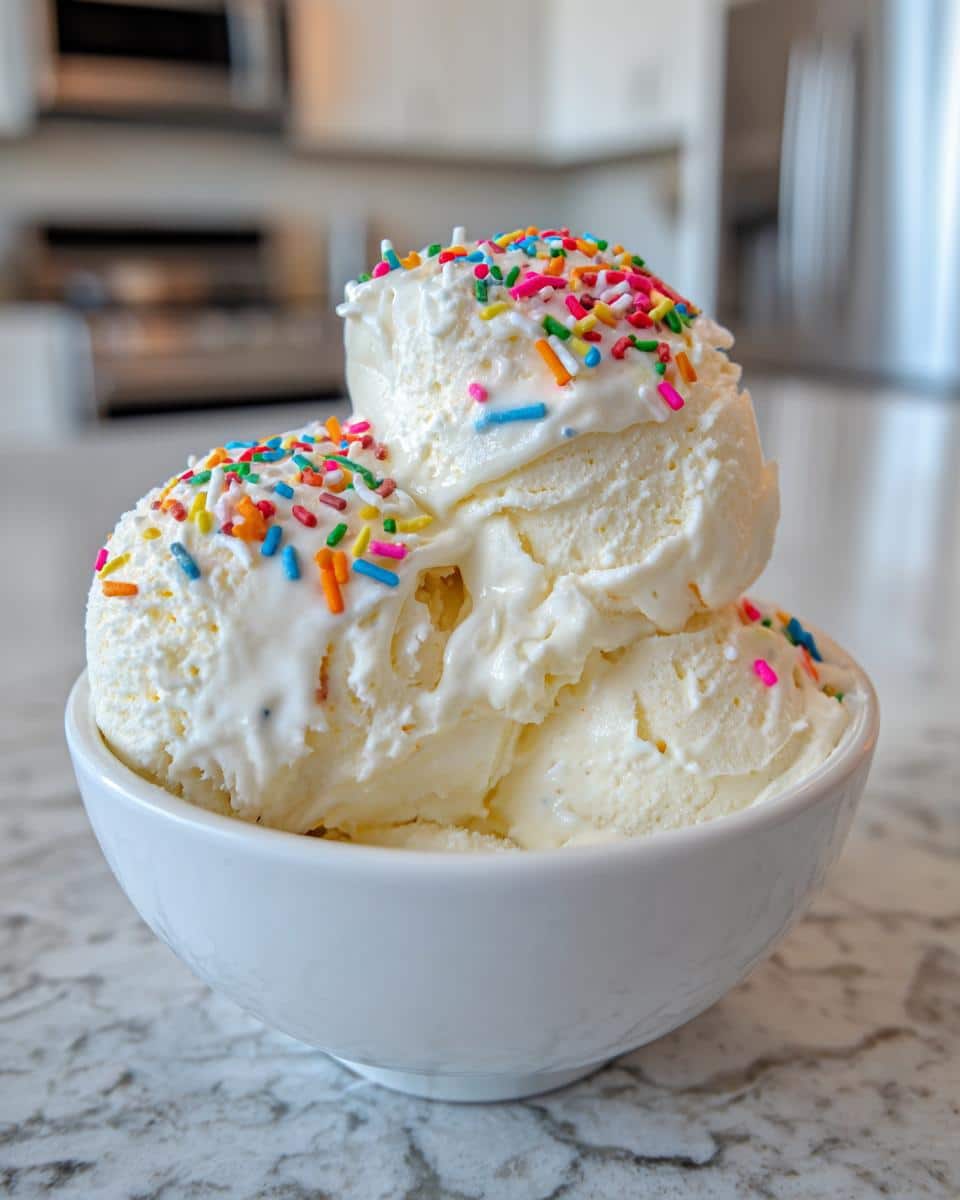
Ice Cream Sundae: Go all out and create a classic ice cream sundae! Start with a scoop (or two!) of your vanilla ice cream, then pile on the toppings—think whipped cream, nuts, cherries, and any other goodies you love. It’s an instant party in a bowl!
With these serving suggestions, your BASIC VANILLA ICE CREAM will shine even brighter. Get creative and have fun with it—after all, dessert is all about enjoyment! So, grab your favorite toppings and let your imagination run wild as you treat yourself and your loved ones to this delightful homemade ice cream experience!
Nutritional Information for BASIC VANILLA ICE CREAM
When you whip up this creamy BASIC VANILLA ICE CREAM, it’s nice to know what you’re indulging in! Here’s an estimated breakdown of the nutritional values per serving (about 1/2 cup):
Calories: 207
Fat: 13g
Saturated Fat: 8g
Unsaturated Fat: 4g
Trans Fat: 0g
Cholesterol: 45mg
Sodium: 50mg
Carbohydrates: 22g
Fiber: 0g
Sugar: 20g
Protein: 2g
Keep in mind that these values are estimates and can vary based on the exact ingredients used. So, if you decide to sneak in some extra mix-ins or toppings, just adjust accordingly! Enjoy every delicious scoop, and remember—sometimes, it’s totally okay to treat yourself!
FAQ About BASIC VANILLA ICE CREAM
Can I make BASIC VANILLA ICE CREAM without an ice cream maker?
Absolutely! If you don’t have an ice cream maker, you can still enjoy homemade ice cream. Just pour your mixture into a shallow dish and place it in the freezer. Every 30 minutes, stir it vigorously with a fork to break up any ice crystals until it reaches your desired consistency. It might take a little longer, but you’ll still get that creamy goodness!
How do I store leftovers?
If you have any ice cream left (which is rare, trust me!), store it in an airtight container to keep it fresh. Make sure to press a piece of parchment paper against the surface before sealing it to prevent any ice crystals from forming. It can last in the freezer for about 2-3 weeks, but I doubt it will stick around that long!
Why is my ice cream too hard to scoop?
If your BASIC VANILLA ICE CREAM is too hard, it might be because it was frozen for too long without being stirred. When you first make it, let it sit at room temperature for about 5-10 minutes before scooping. This will soften it up just enough to get that perfect scoop!
Can I use a different type of milk?
Sure! You can substitute whole milk with lower-fat milk or even non-dairy milk if you prefer. Just keep in mind that using lower-fat options may result in a less creamy texture. But hey, it’s all about what you enjoy, so feel free to experiment!
What can I do if my ice cream is too grainy?
Grainy ice cream can be a sign that the sugar didn’t fully dissolve or that it froze too quickly. Always whisk your mixture well until the sugar is completely dissolved before churning. If it happens, try blending the mixture after it’s frozen to smooth it out before serving.
How can I add flavors to BASIC VANILLA ICE CREAM?
The sky’s the limit! You can mix in extracts like almond or coconut, swirl in some fruit purees, or even add spices like cinnamon or nutmeg. Just remember to add these flavors before you churn for the best results!
Can I make this ice cream dairy-free?
Yes, you can! Substitute the heavy cream and milk with full-fat coconut milk or any other non-dairy milk of your choice. Just keep in mind that it may change the flavor a bit, but it’ll still be delicious!
Why You’ll Love This BASIC VANILLA ICE CREAM Recipe
Quick and Simple: With just a handful of ingredients and minimal prep time, this recipe is perfect for any busy home cook.
Customizable: You can easily tweak it to suit your taste by adding your favorite mix-ins or flavorings!
Rich and Creamy: The combination of heavy cream and whole milk creates an indulgently smooth texture that’s hard to resist.
Perfect for Beginners: Even if you’ve never made ice cream before, this recipe is straightforward and forgiving, so you can’t go wrong!
Endless Enjoyment: Serve it on its own or with your favorite desserts, fruits, and toppings for a delightful treat any time of year.
Healthy Indulgence: Made with wholesome ingredients, you can feel good about enjoying this delicious homemade ice cream.
Family Favorite: It’s a crowd-pleaser that will have everyone coming back for seconds (or thirds!).
I share easy, flavorful recipes that make home cooking simple, fun, and totally satisfying. Let's get in the kitchen and create something delicious together!


What do you think?
Share your thoughts, tips, or variations on this recipe!