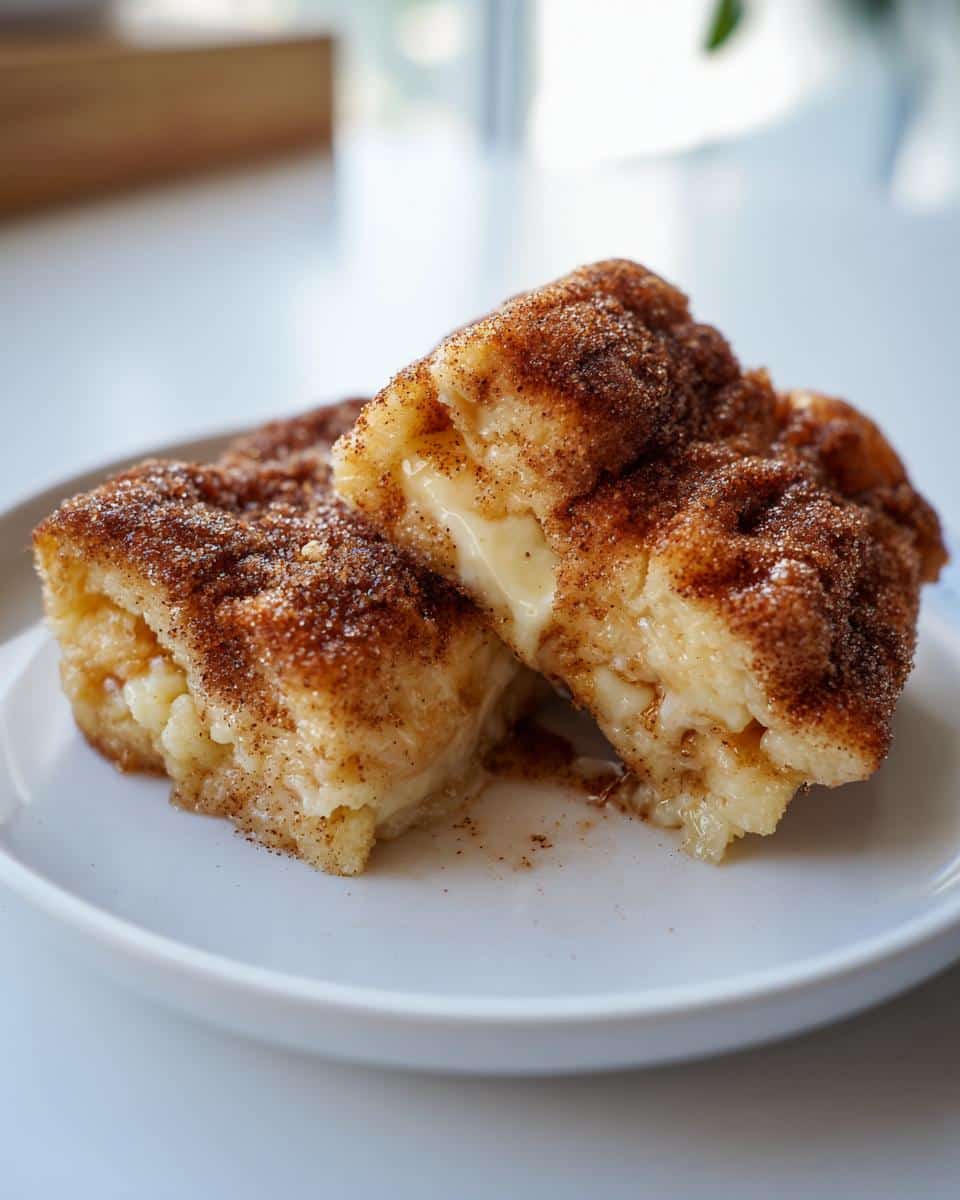
Let me tell you about my absolute favorite dessert: churro cheesecake bars! Imagine biting into a soft, creamy cheesecake that’s perfectly balanced with a buttery cinnamon sugar topping, just like a churro. It’s the best of both worlds, and I can’t get enough of that delightful flavor combination! The first time I made these, I was trying to impress some friends, and wow, did they love them! They were gone in minutes, and I think I’ve made them at least once a month ever since. Trust me, the way the warm cheesecake melts in your mouth, while the cinnamon sugar adds that sweet crunch, is simply divine. If you’re looking for a dessert that’s easy to make but will wow anyone who tastes it, these churro cheesecake bars are your answer!
Ingredients List
To whip up these heavenly churro cheesecake bars, you’ll need a few key ingredients that come together to create a perfect blend of flavors and textures. Here’s what you’ll need:
1 package of cream cheese, softened – This gives the bars their rich, creamy texture. Make sure it’s at room temperature for easy mixing!
1 cup of granulated sugar – This sweetens the cheesecake filling beautifully and balances the cinnamon topping.
1 teaspoon of vanilla extract – A splash of vanilla enhances the overall flavor, making it oh-so-delicious.
2 large eggs – These help bind everything together, giving the cheesecake its lovely structure.
1 cup of all-purpose flour – This is essential for providing the right consistency in the bars.
1 teaspoon of baking powder – This gives the cheesecake a slight lift, making it nice and fluffy.
1/2 teaspoon of salt – A pinch of salt elevates the flavors and balances the sweetness.
1/4 cup of melted butter – This adds richness and helps the bars set up perfectly.
1/4 cup of sugar mixed with 1 tablespoon of cinnamon for topping – This is the magic dust that makes these bars taste just like churros, giving that irresistible crunchy topping!
How to Prepare Churro Cheesecake Bars
Ready to make some churro cheesecake bars? Let’s dive into the steps! Don’t worry; I’ll guide you through the process to ensure you get it just right. The smell of these baking will have everyone asking, “What’s cooking?”
Preheat your oven: Start by preheating your oven to 350°F (175°C). This is super important so that your bars bake evenly!
Mix the filling: In a medium mixing bowl, beat the softened cream cheese, granulated sugar, and vanilla extract until it’s smooth and creamy. You want to avoid any lumps here, so take your time!
Add the eggs: Crack in the eggs one at a time, mixing well after each addition. This helps incorporate them fully into the mixture.
Combine dry ingredients: In a separate bowl, whisk together the flour, baking powder, and salt. This ensures even distribution of the leavening agent.
Mix it all together: Gradually add the dry ingredients to the cream cheese mixture. I like to do this in batches to avoid a flour explosion! Then, stir in the melted butter until fully combined.
Pour into the pan: Grease your baking pan, and pour in the batter, spreading it evenly. This helps with even baking!
Bake: Pop the pan into the oven and bake for 25-30 minutes, or until the center is set and a toothpick comes out clean. You’ll know they’re ready when the edges are slightly golden!
Finish with cinnamon sugar: As soon as they come out of the oven, sprinkle the cinnamon sugar mixture on top. The heat will help it stick!
Cool and cut: Let the bars cool in the pan for a while before transferring them to the fridge. Once they’re chilled, slice into bars and enjoy!
And there you have it! Your churro cheesecake bars are ready to impress. Just remember, patience is key when cooling; it makes all the difference in texture!
Why You’ll Love This Recipe
These churro cheesecake bars are not just delicious; they’re a total game-changer for dessert lovers! Here’s why you’ll absolutely adore them:
Quick and Easy: With just a handful of simple ingredients and straightforward steps, you can whip these up in no time!
Irresistible Flavor: The combination of creamy cheesecake and cinnamon sugar topping is a match made in dessert heaven.
Perfect Texture: The bars are soft and creamy on the inside, with a delightful crunchy topping that adds that beloved churro feel.
Great for Sharing: These bars are perfect for gatherings, parties, or just a cozy night in. Everyone will want a piece!
Versatile: You can easily customize them with different toppings or flavors to suit your mood or occasion.
Trust me, once you try these churro cheesecake bars, you’ll find yourself making them again and again!
Tips for Success
To make your churro cheesecake bars absolutely perfect, here are some pro tips straight from my kitchen to yours!
Ingredient Quality: Use high-quality cream cheese for that rich, creamy texture. It really makes a difference! And don’t skimp on the cinnamon; fresh, ground cinnamon elevates the flavor.
Baking Time: Keep an eye on your bars as they bake. Every oven is different, so start checking for doneness at the 25-minute mark. You want them set but still slightly soft in the center.
Cooling: Allow the bars to cool completely before cutting. This helps them hold their shape and makes for cleaner slices. Trust me, nobody likes a messy dessert!
Presentation: For a beautiful touch, drizzle some caramel sauce or chocolate on top just before serving. It adds an extra layer of indulgence that everyone will love!
With these tips, your churro cheesecake bars will be a hit every time!
Variations of Churro Cheesecake Bars
If you’re feeling adventurous, there are so many fun ways to switch up these churro cheesecake bars! Here are a few ideas to get your creativity flowing:
Chocolate Swirl: Add a swirl of melted chocolate into the cheesecake batter before baking for a decadent twist that chocolate lovers will adore.
Nutty Crunch: Mix in some chopped pecans or walnuts into the batter for an extra crunch that complements the creamy texture beautifully.
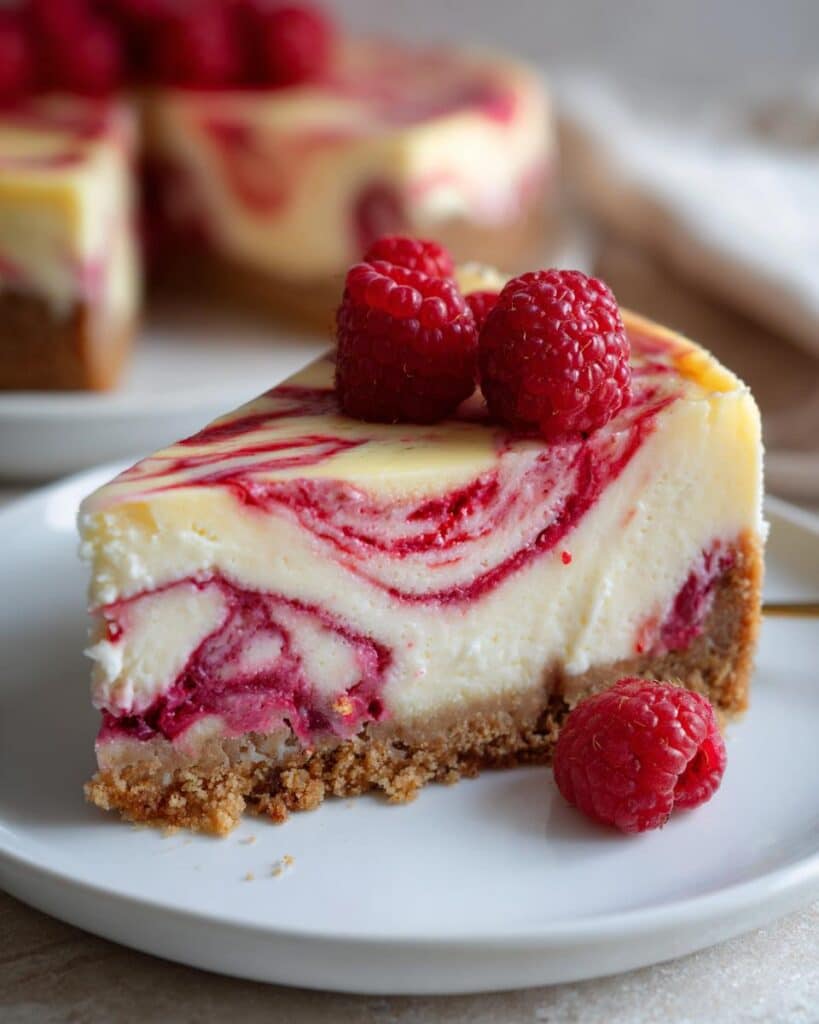
Fruit Topping: Top your cooled bars with fresh strawberries or raspberries for a fruity burst of flavor that adds a lovely contrast to the richness.
Caramel Drizzle: Drizzle warm caramel sauce over the top before serving for an extra layer of sweetness that pairs perfectly with the cinnamon.
Spice it Up: Experiment with adding a pinch of nutmeg or pumpkin spice for a warm, cozy flavor, especially great in the fall!
Feel free to mix and match these variations to create your perfect churro cheesecake bars!
Nutritional Information Disclaimer
Just a heads up! The nutritional information for these churro cheesecake bars can vary depending on the specific ingredients and brands you use. While I strive to provide accurate estimates, please keep in mind that these figures are not precise. It’s always a good idea to check the labels of your ingredients for the most accurate nutritional details. Enjoy your baking adventure!
FAQ Section
Common Questions
Can I use low-fat cream cheese? Absolutely! Low-fat cream cheese will still work in these churro cheesecake bars, but the texture might be a bit less rich and creamy. If you don’t mind a slightly lighter flavor, go for it!
What if I don’t have cinnamon? No worries! You can substitute with pumpkin spice or even a dash of nutmeg for a different flavor profile. It won’t be exactly like churros, but it’ll still be delicious!
Can I make these bars ahead of time? Yes! These churro cheesecake bars are perfect for making ahead. Just keep them stored in the fridge until you’re ready to serve. They actually taste even better after chilling!
How do I know when they’re done? The bars are done when the edges are set and the center has a slight jiggle. If a toothpick inserted comes out clean, you’re good to go!
Can I freeze churro cheesecake bars? Definitely! Wrap them tightly in plastic wrap and store them in an airtight container. They’ll keep well in the freezer for up to two months. Just thaw them in the fridge before enjoying!
Storage & Reheating Instructions
Storing your churro cheesecake bars properly is key to keeping them fresh and delicious! Once they’ve cooled completely, I recommend placing them in an airtight container. They’ll stay good in the refrigerator for up to 5 days, so you can enjoy them throughout the week.
If you want to keep them longer, you can freeze them! Just wrap each bar tightly in plastic wrap and then place them in a freezer-safe container. They’ll hold up well in the freezer for about 2 months. When you’re ready to indulge, just take them out and let them thaw in the fridge overnight. No need to reheat—these bars are delightful served cold, but if you prefer them warm, pop them in the microwave for about 10-15 seconds. Enjoy every bite!
I share easy, flavorful recipes that make home cooking simple, fun, and totally satisfying. Let's get in the kitchen and create something delicious together!


What do you think?
Share your thoughts, tips, or variations on this recipe!