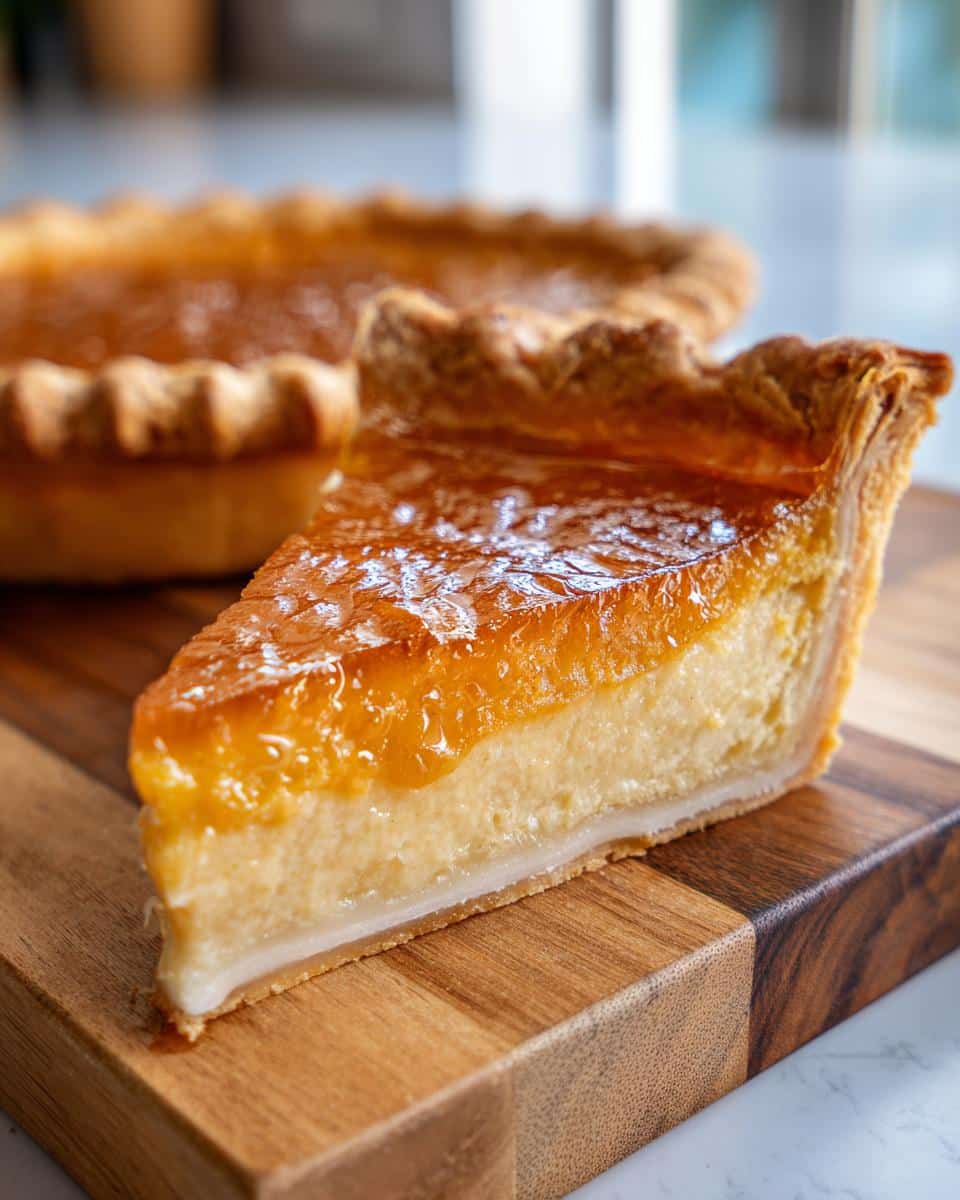
Oh my goodness, have you ever tried a Burnt Honey Pie? This dessert is like a warm hug on a plate! The moment you take a bite, you’re greeted with this rich, caramelized honey flavor that’s just divine.
I first stumbled upon this gem at a little café while traveling, and let me tell you, it was love at first taste! The way the burnt honey mingles with the creamy filling is pure magic—it’s sweet, slightly smoky, and oh-so-satisfying.
Trust me, if you’re looking for something unique to impress your friends and family, this pie is the way to go.
It’s not just a dessert; it’s a delightful experience that brings everyone together around the table. Let’s dive into how to make this heavenly Burnt Honey Pie that will have everyone begging for the recipe!
Gathering your ingredients for Burnt Honey Pie is part of the fun! Here’s what you’ll need to create this delicious dessert:
1 cup honey – the star of the show! Make sure to use a good quality honey for the best flavor.
1 pie crust – you can go with a store-bought one for ease or whip up your own homemade crust if you’re feeling adventurous!
3 large eggs – these will give your pie that lovely, rich texture.
1 cup heavy cream – for that creamy goodness, don’t skimp on this!
1 teaspoon vanilla extract – it adds a wonderful depth to the flavor.
1/4 teaspoon salt – just a pinch to balance the sweetness.
With these ingredients on hand, you’re all set to bring this delightful pie to life!
How to Prepare Burnt Honey Pie Instructions
Preheat the Oven
First things first, let’s get that oven preheating! Set it to 350°F (175°C). Preheating is key because it ensures your pie cooks evenly and helps to achieve that perfect texture. You don’t want to rush this part, as it sets the stage for baking magic!
Prepare the Burnt Honey
Now, let’s get to the good stuff—burning the honey! In a medium saucepan, heat the honey over medium heat. You’ll want to keep an eye on it as it begins to darken. Stir it occasionally to prevent any burning on the bottom. The goal is to achieve a beautiful amber color and a slightly smoky aroma that fills your kitchen with warmth. This process usually takes about 5–7 minutes. Just remember, patience is key here!
Combine Ingredients
Once your honey is nicely burnt and cooled slightly, grab a large mixing bowl. Whisk together the 3 large eggs until they’re well combined. Then, pour in the 1 cup of heavy cream, 1 teaspoon of vanilla extract, and 1/4 teaspoon of salt. Mix it all together until it’s smooth and creamy. Now, stir in that luscious burnt honey until fully incorporated. The beautiful color and flavor will have you drooling already!
Assemble the Pie
It’s time to pour this heavenly mixture into your pie crust! Carefully transfer the filling into your prepared crust, making sure it’s evenly distributed. To ensure a smooth filling, you can gently tap the pie dish on the counter a couple of times to release any air bubbles. Trust me; it helps create a beautiful finish!
Bake the Pie
Slide your pie into the preheated oven and bake for about 30-35 minutes. You’ll know it’s done when the edges are set, but the center might still have a slight jiggle. Don’t worry; it will firm up as it cools! Just keep an eye on it and maybe even do the toothpick test—if it comes out clean from the edges, you’re golden!
Cool and Serve
Once your pie is out of the oven, let it cool at room temperature for at least 30 minutes. This cooling step is crucial because it allows the filling to set properly. For the best flavor, I recommend serving it chilled. Pop it in the refrigerator for a bit, and then slice it up! The combination of that creamy filling and the burnt honey flavor will have your taste buds dancing. Enjoy every bite!
Why You’ll Love This Recipe
Let me tell you, Burnt Honey Pie is not just any dessert; it’s a showstopper! Here are some reasons why you’ll absolutely adore making and sharing this delightful pie:
Unique Flavor: The burnt honey brings a stunning depth of flavor that’s sweet, slightly smoky, and utterly irresistible. It’s a taste experience that’s hard to forget!
Simple Preparation: With just a handful of ingredients and straightforward steps, you’ll find this recipe easy to whip up, even on a busy day.
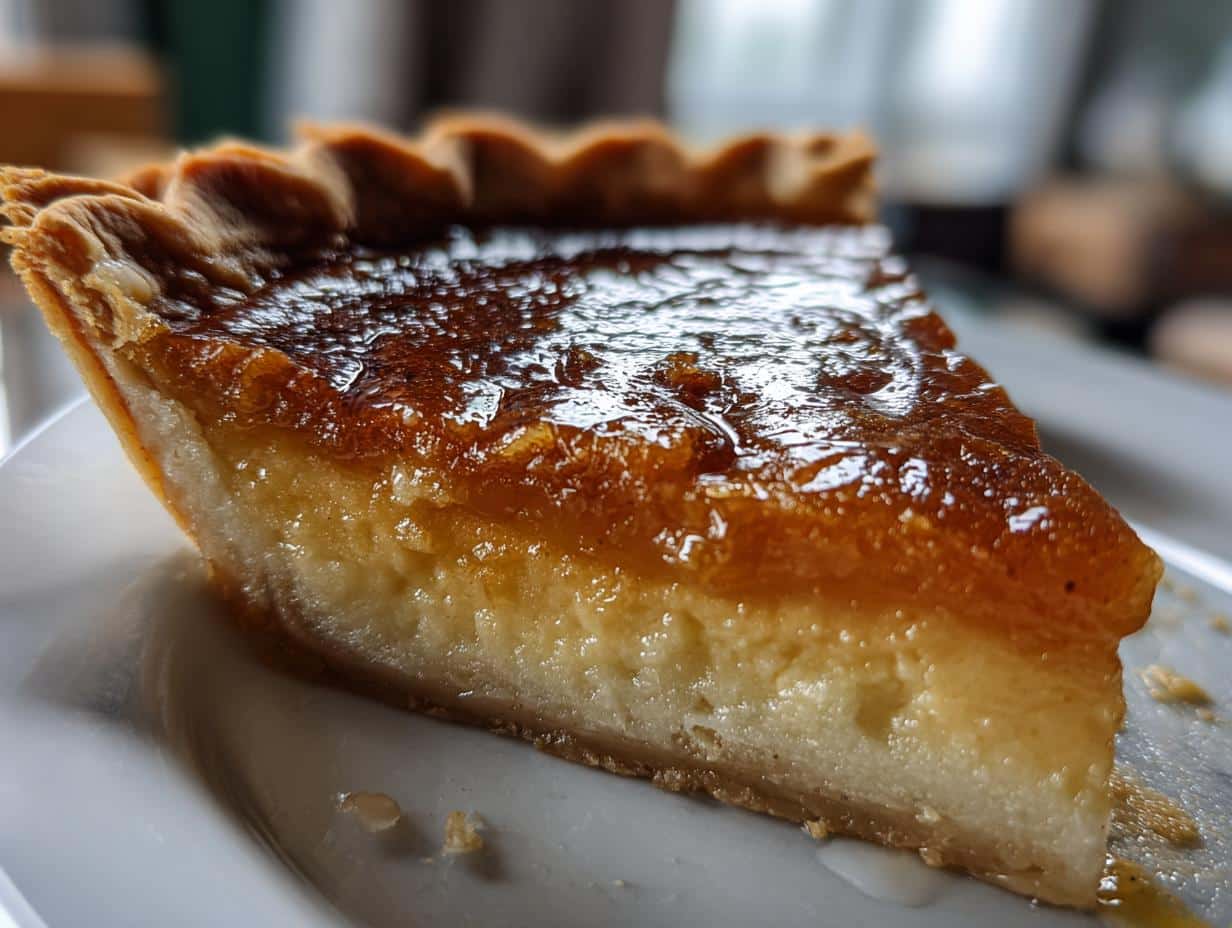
Impressive Presentation: The rich golden color and glossy finish of the pie make it a standout at any gathering. Your friends and family will think you’re a pro!
Perfect for Any Occasion: Whether it’s a cozy family dinner or a festive celebration, this pie fits right in. It’s always a hit, and everyone will be asking for seconds!
Make-Ahead Friendly: You can prepare this pie in advance and chill it, making it an ideal option for stress-free entertaining.
Once you try this Burnt Honey Pie, I promise it’ll become a favorite in your dessert repertoire!
Tips for Success
Want to make your Burnt Honey Pie even more incredible? Here are some of my favorite tips that will take your pie from good to absolutely unforgettable:
Adjust the Sweetness: Everyone’s palate is different, so feel free to tweak the amount of honey to suit your taste! If you like it sweeter, add a little more honey; if you prefer it less sweet, dial it back. Just remember, the burnt honey flavor is a star, so it’s all about balance!
Use Fresh Ingredients: Fresh eggs and cream make all the difference in achieving that rich, silky texture. Trust me, it’s worth it to use the best ingredients you can find for this pie!
Prep Your Pie Crust: If you’re using a homemade pie crust, make sure to blind bake it for about 10 minutes before adding the filling. This helps prevent a soggy bottom and gives you that perfect flaky crust!
Mind the Cooling Time: Patience is key! Letting the pie cool completely before slicing is essential for the filling to set properly. I know it’s hard to wait, but your taste buds will thank you for it!
Experiment with Flavors: Feel free to add a pinch of your favorite spices like cinnamon or nutmeg to the filling for an extra layer of warmth and complexity. Just a hint can elevate the pie to a whole new level!
With these tips in your back pocket, you’re all set to create the best Burnt Honey Pie ever. Enjoy baking, and don’t forget to savor the deliciousness you’ve created!
Variations
One of the best things about Burnt Honey Pie is how versatile it can be! Here are some fun variations to inspire your creativity in the kitchen:
Spiced Delight: Add a teaspoon of cinnamon or a pinch of nutmeg to the filling for a warm, cozy flavor that’s perfect for fall gatherings. It pairs beautifully with the burnt honey!
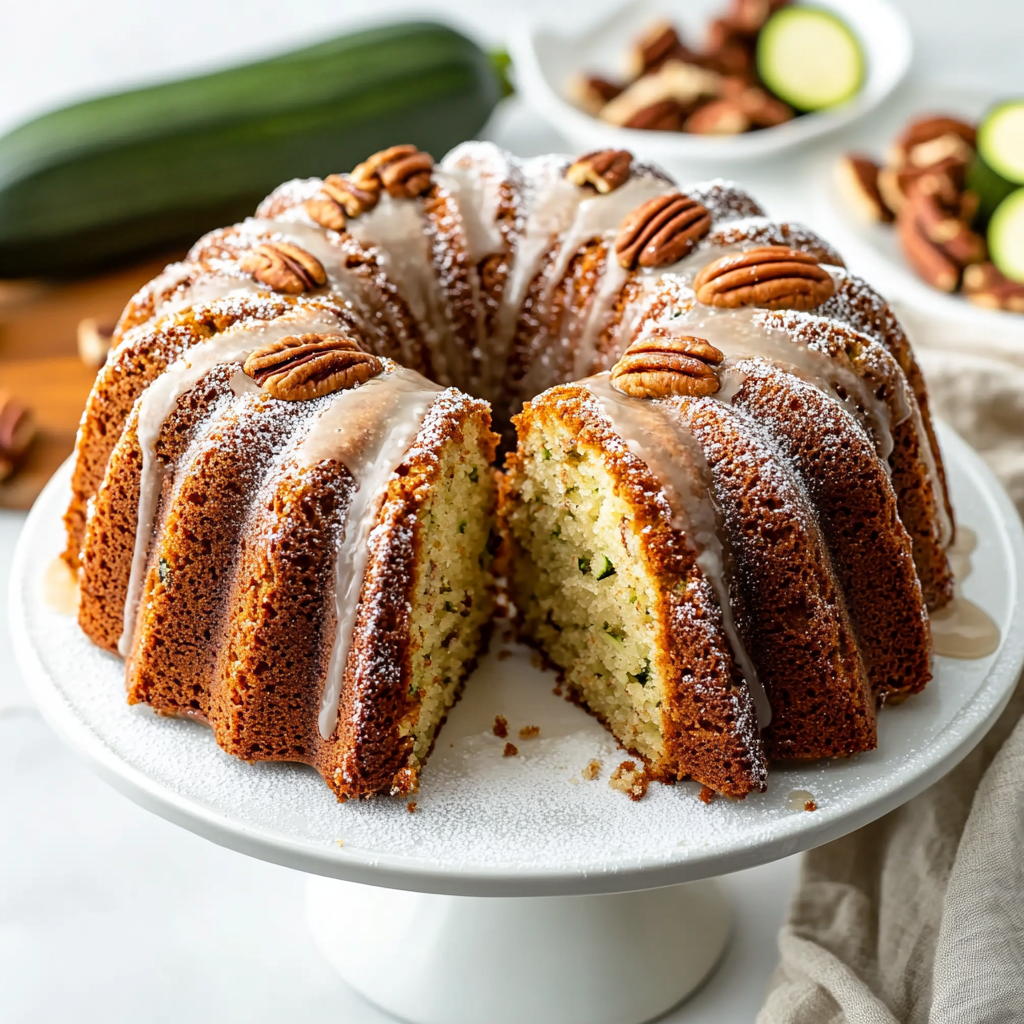
Nutty Twist: Consider adding a handful of finely chopped nuts, like pecans or almonds, to the filling for a delightful crunch. You can even sprinkle some on top before serving for an extra touch!
Fruit Infusion: Mix in some fresh fruit puree, like raspberry or peach, to the filling before baking. The fruity notes will complement the burnt honey and add a refreshing twist!
Chocolate Lover’s Pie: If you’re a chocolate fan, try swirling in some melted dark chocolate into the filling. The rich chocolate combined with the burnt honey is pure bliss!
Different Crusts: Switch things up by using a graham cracker crust or an almond flour crust for a gluten-free option. Each crust brings a unique flavor and texture to the pie!
Feel free to mix and match these ideas or come up with your own variations! The beauty of baking is that it allows for creativity, so don’t hesitate to make this Burnt Honey Pie your own. Happy baking!
Storage & Reheating Instructions
So, you’ve made this incredible Burnt Honey Pie and have some leftovers? Lucky you! Storing it properly is key to keeping that delicious flavor intact. Here’s how to do it:
First, let the pie cool completely at room temperature if you haven’t already. Once it’s cool, cover it tightly with plastic wrap or foil to keep it fresh. You can also transfer it to an airtight container—anything that seals in that dreamy flavor works!
Store your Burnt Honey Pie in the refrigerator, where it will keep well for up to 3 days. Trust me, it tastes even better the next day as the flavors get a chance to meld together.
If you want to keep it longer, you can freeze the pie. Just slice it into individual pieces and wrap each slice tightly in plastic wrap, then place them in a freezer-safe container or bag. It’ll stay good in the freezer for up to 2 months. Just make sure to label it so you don’t forget about your sweet treasure!
When you’re ready to enjoy a slice, there’s no need to reheat it—this pie is best served chilled! However, if you prefer it warm, you can pop it in a preheated oven at 350°F (175°C) for about 10-15 minutes. Just keep an eye on it to make sure it doesn’t get too hot. A warm slice with that creamy filling is pure bliss!
Now, you can savor your Burnt Honey Pie whenever the craving strikes! Enjoy every sweet bite!
Nutritional Information
Before diving into this delicious Burnt Honey Pie, it’s good to know a bit about the nutrition. Keep in mind that nutritional values can vary based on the specific ingredients and brands you use. Here’s a general breakdown of what you can expect per slice:
Calories: 280
Fat: 15g
Saturated Fat: 9g
Unsaturated Fat: 4g
Trans Fat: 0g
Carbohydrates: 30g
Sugar: 20g
Fiber: 1g
Protein: 4g
Cholesterol: 90mg
Sodium: 150mg
With this information, you can enjoy your Burnt Honey Pie guilt-free, knowing just how delightful it is in every sense! Happy indulging!
Engage with Us
I absolutely love hearing from you, so let’s chat about your Burnt Honey Pie adventures! Have you tried making it yet? What did you think? Did you add your own twist to the recipe? I want to know all the delicious details! Leave a comment below to share your thoughts, tips, or any questions you might have. Your feedback not only makes my day but also helps other bakers in our community discover the joys of this fabulous pie.
If you enjoyed this recipe, I’d be thrilled if you could take a moment to rate it! Your ratings help others find this delightful dessert and bring a bit of sweetness to their kitchen too. So, let’s connect, inspire each other, and keep the spirit of baking alive! Happy baking, and I can’t wait to hear from you!
I share easy, flavorful recipes that make home cooking simple, fun, and totally satisfying. Let's get in the kitchen and create something delicious together!


What do you think?
Share your thoughts, tips, or variations on this recipe!