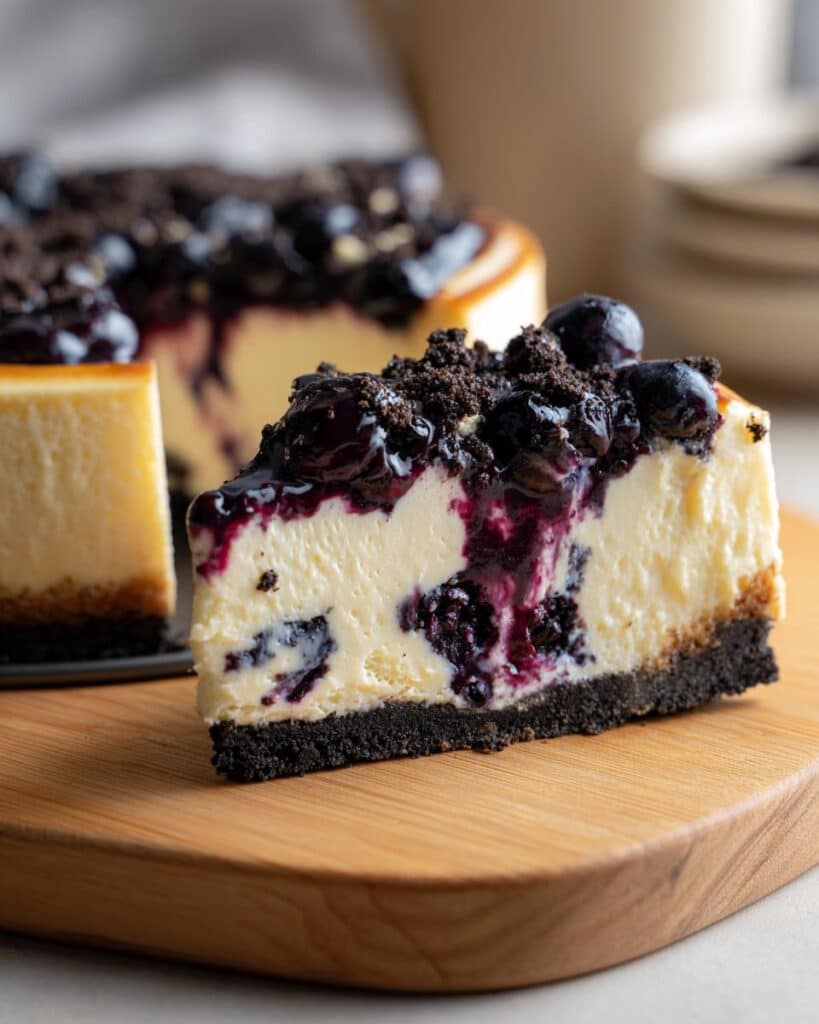
Oh my goodness, let me tell you about this Caramel Cheesecake! It’s one of those desserts that makes you feel all warm and fuzzy inside. The creamy texture is just divine—it’s like a silky dream melting in your mouth! Trust me, once you take that first bite, you’ll be hooked. The rich caramel flavor brings everything together beautifully, making it the perfect sweet treat for any occasion. Whether it’s a birthday party, a holiday gathering, or just a cozy night in, this cheesecake shines like a star. Plus, it’s surprisingly easy to make, so don’t worry if you’re a bit of a novice in the kitchen. I promise, everyone will be begging for the recipe, and you’ll feel like a rockstar chef. So, let’s get started on creating this dessert masterpiece!
Ingredients List
2 cups cream cheese (softened to room temperature)
1 cup granulated sugar
1 cup sour cream
1/2 cup caramel sauce (plus extra for drizzling)
3 large eggs (room temperature)
1 teaspoon vanilla extract
1 cup graham cracker crumbs
1/4 cup unsalted butter (melted)
How to Prepare Caramel Cheesecake
Step-by-Step Instructions
Alright, let’s dive into making this heavenly Caramel Cheesecake! First, you’ll want to preheat your oven to 325°F (160°C). This step is super important because a hot oven ensures that your cheesecake bakes evenly and perfectly.
While that’s heating up, grab a bowl and mix together the graham cracker crumbs and melted butter until it looks like wet sand. Press this mixture firmly into the bottom of a springform pan to create a delicious crust. You want it to be compact, so it holds together nicely once baked.
Now, in a large mixing bowl, beat the softened cream cheese and granulated sugar together until it’s smooth and creamy. This is where the magic starts! Next, add in the sour cream, caramel sauce, eggs, and vanilla extract. Mix everything together until fully combined and luxurious—this batter should be a silky delight!
Pour this luscious cheesecake mixture over your crust, and then it’s time to bake! Pop it in the oven and let it bake for about 50 to 60 minutes. You’ll know it’s done when it’s set but still has a slight jiggle in the center. Once it’s ready, let it cool down before refrigerating for at least 4 hours (or overnight is even better!).
Before serving, drizzle with extra caramel sauce for that wow factor. And there you have it—a stunning Caramel Cheesecake that’s sure to impress!
Why You’ll Love This Recipe
Incredibly creamy texture that just melts in your mouth.
Rich caramel flavor that adds a delightful sweetness.
Simple and straightforward preparation—no fancy skills needed!
Perfect for any occasion, from celebrations to cozy nights in.
Impressive enough to wow your friends and family.
Leftovers (if there are any!) stay delicious for days.
Customizable with various toppings to suit your taste.
Honestly, what’s not to love? This Caramel Cheesecake is a showstopper that combines ease and elegance, making it a go-to dessert in my kitchen!
Tips for Success
To make the perfect Caramel Cheesecake, start with room temperature ingredients—this helps everything blend smoothly and creates that dreamy texture. I always let my cream cheese and eggs sit out for about an hour before mixing. Also, don’t skip the cooling step! Letting it chill for at least 4 hours (or overnight if you can wait!) is crucial for the cheesecake to set properly. If you have any leftovers, store them in an airtight container in the fridge. Trust me, this cheesecake tastes even better the next day as the flavors meld together beautifully!
Variations on Caramel Cheesecake
If you’re feeling adventurous, there are so many fun ways to jazz up your Caramel Cheesecake! One of my favorite twists is adding a layer of chocolate ganache on top—just melt some chocolate and cream together, let it cool slightly, and pour it over your cheesecake before the caramel drizzle. You could also mix in some crushed nuts, like pecans or walnuts, into the crust for an added crunch. Want a fruity touch? Top it with fresh sliced strawberries or raspberries for a vibrant contrast to the rich caramel. The possibilities are endless, so feel free to get creative and make it your own!
Storage & Reheating Instructions
To keep your delicious Caramel Cheesecake fresh, store any leftovers in an airtight container in the refrigerator. It’ll stay yummy for about 5 days—if it lasts that long! I recommend letting it chill completely before covering it, as this helps maintain that perfect creamy texture.
If you want to enjoy it warm (oh, the gooey caramel!), you can gently reheat individual slices in the microwave for about 10-15 seconds. Just be careful not to overdo it; you want it warm, not hot! But honestly, it’s pretty amazing straight out of the fridge too. Enjoy every bite!
Nutritional Information Disclaimer
Just a quick note: the nutritional information provided for this Caramel Cheesecake is an estimate and can vary based on the specific ingredients and brands you use. So, while I do my best to give you accurate details, it’s always a good idea to check the labels of your ingredients for precise values. Remember, the joy of this cheesecake isn’t just in the numbers—it’s in the deliciousness!
FAQ Section
Can I use a different crust? Absolutely! While the graham cracker crust is classic, you can substitute it with Oreo crumbs for a chocolatey twist or even use a nut-based crust for a gluten-free option.
How do I know when my cheesecake is done? The best way is to gently shake the pan; it should be set around the edges but still have a slight jiggle in the center. Don’t worry, it’ll firm up as it cools!
Can I make this cheesecake ahead of time? Yes, it’s perfect for making in advance! Just let it chill in the fridge for at least 4 hours or overnight, and it’ll be ready to impress your guests!
What can I top my Caramel Cheesecake with? The options are endless! Try drizzling more caramel sauce or adding fresh fruit, whipped cream, or even chocolate shavings for an extra indulgent touch.
Can I freeze leftover cheesecake? Yes, you can! Just wrap individual slices tightly in plastic wrap and store them in an airtight container. They’ll keep for about 2 months, and you can thaw them in the refrigerator when you’re ready to enjoy.
I share easy, flavorful recipes that make home cooking simple, fun, and totally satisfying. Let's get in the kitchen and create something delicious together!


What do you think?
Share your thoughts, tips, or variations on this recipe!