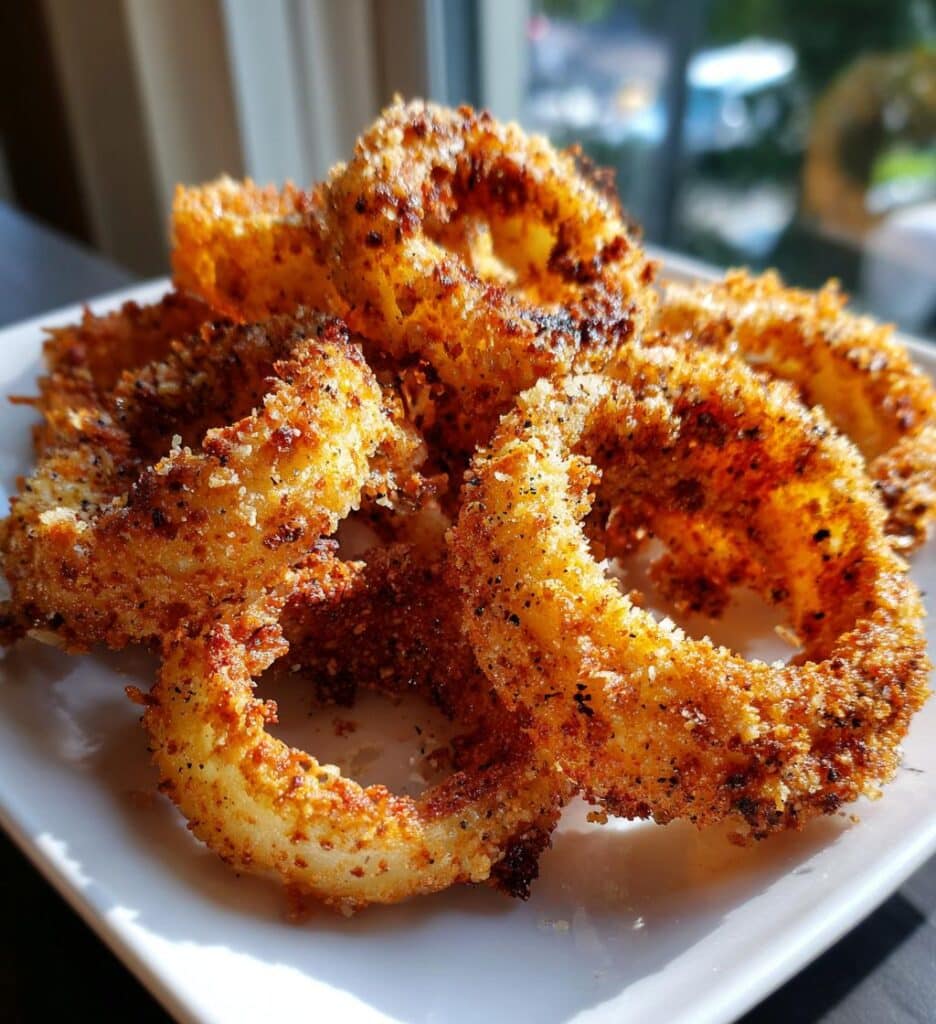
Oh my goodness, let me tell you about these crispy potato cheese bombs! They are the ultimate treat for any gathering—or just a cozy night in when you want something that feels a little special. Imagine golden, crunchy bites bursting with gooey cheese and a heavenly garlic butter glaze.
Every bite is like a warm hug! I still remember the first time I served these at a party; guests went wild, and I barely got to taste them myself! They disappeared so fast! Trust me, once you make these crispy potato cheese bombs, they’ll become your go-to appetizer.
Plus, they’re super easy to whip up, making them perfect for any occasion. Get ready to impress your friends and family with these delightful little bites!
1 cup shredded cheese of your choice (I love using sharp cheddar for that extra kick!)
1/2 cup breadcrumbs (panko works great for an extra crispy texture!)
1/4 cup melted garlic butter (oh, the flavor this brings is just sublime)
Salt to taste (don’t be shy, it really enhances the flavor!)
Pepper to taste (freshly cracked is best for that wonderful aroma)
How to Prepare Crispy Potato Cheese Bombs
Alright, let’s dive into making these crispy potato cheese bombs! I promise, the steps are simple, and the results will have everyone begging for more. Let’s break it down into easy-peasy parts, shall we?
Step 1: Preheat Oven
First things first, you need to preheat your oven to 400°F (200°C). This is super important because it ensures your bombs get that lovely golden crunch we all crave! So, while you’re prepping the other ingredients, let that oven do its thing!
Step 2: Boil and Mash Potatoes
Now, grab those cubed potatoes and toss them into a large pot of boiling water. You’ll want to boil them for about 15-20 minutes, or until they’re super tender. Here’s a little tip: you can poke them with a fork to check! Once they’re ready, drain the water and mash them up until they’re smooth and creamy. No lumps allowed here—trust me, it makes a huge difference!
Step 3: Mix Ingredients
In a large mixing bowl, combine the mashed potatoes with your shredded cheese, salt, and pepper. I really like to mix this well; you want the cheese to melt into every nook and cranny of that potato goodness. So, get in there with a spatula or your hands (just make sure they’re clean!) and mix until everything’s evenly distributed!
Step 4: Forming the Balls
Next up, it’s ball-making time! With your hands, scoop out a generous handful of the potato mixture and roll it into a ball about the size of a golf ball. Don’t worry about getting them perfect; a little rustic charm is always welcome! Just aim for consistency in size, so they bake evenly.
Step 5: Coating with Breadcrumbs
Now, here’s where the magic happens. Take each ball and roll it in the breadcrumbs until it’s fully coated. This step is key for achieving that crispy outer layer! I like to press slightly while rolling to ensure the breadcrumbs stick well. Panko breadcrumbs work wonders for that extra crunch!
Step 6: Baking the Bombs
Place your beautifully coated potato bombs on a baking sheet lined with parchment paper. Give them a nice brush with that melted garlic butter—it’s the secret to flavor heaven! Pop them in the oven and bake for 20-25 minutes, or until they’re golden brown and irresistible. Just keep an eye on them toward the end; you want them crisp, not burnt!
Tips for Success
Alright, let’s make sure your crispy potato cheese bombs turn out absolutely perfect! Here are my top tips to help you avoid any mishaps and elevate your dish:
Don’t overboil the potatoes: It’s tempting to let them go a bit longer, but overcooked potatoes can become watery. Just aim for that fork-tender texture!
Let the mixture cool slightly: After mashing, give your potato mixture a few minutes to cool before forming the balls. This makes it easier to handle and helps the cheese not melt too quickly during baking.
Experiment with cheeses: While I love sharp cheddar, feel free to mix it up! Try mozzarella for a gooey stretch or pepper jack for a spicy kick. The options are endless!
Use cold hands: If the potato mixture feels too sticky, wet your hands slightly with cold water before rolling the balls. This little trick prevents sticking and makes shaping easier!
Watch the baking time: Every oven is a bit different, so keep an eye on those bombs as they bake. You want them golden brown, not too dark. If they’re browning too fast, lower the oven temperature slightly!
Serve immediately: These little bites are best enjoyed hot and fresh out of the oven. They lose their crispness as they cool, so gather your guests and dig in right away!
With these tips in hand, you’re all set to create the most delicious crispy potato cheese bombs. Enjoy the process and get ready for all the compliments heading your way!
Nutritional Information
Alright, let’s chat about the nutritional side of these crispy potato cheese bombs! While I firmly believe in enjoying delicious food, it’s always good to know what you’re working with, right? Here’s an estimated breakdown per serving (1 bomb):
Calories: 150
Total Fat: 7g
Saturated Fat: 3g
Trans Fat: 0g
Cholesterol: 15mg
Sodium: 200mg
Total Carbohydrates: 20g
Dietary Fiber: 2g
Sugars: 1g
Protein: 4g
Keep in mind that these values are estimates and can vary based on the specific ingredients you use. If you swap out cheeses or adjust the amount of garlic butter, the numbers might change a bit. But hey, it’s all about enjoying the flavors and having fun in the kitchen, right? So go ahead, indulge in these tasty bites, and savor every scrumptious moment!
FAQ Section
Got questions about these crispy potato cheese bombs? No worries, I’ve got you covered! Here are some common queries I get, along with my trusty answers:
Can I use different types of cheese?
Absolutely! Feel free to mix and match your favorite cheeses. I’ve used mozzarella for that stretchy goodness and pepper jack for a spicy twist. Just keep in mind that some cheeses melt differently, so experiment and find your perfect combo!
How do I store leftovers?
If you happen to have any leftovers (which is rare because they’re so good!), let them cool completely before storing. Keep them in an airtight container in the fridge for up to 3 days. Just remember, they taste best fresh out of the oven!
Can I freeze the potato bombs?
You bet! You can freeze the unbaked potato cheese bombs. Just place them on a baking sheet to freeze individually, then transfer them to an airtight container or freezer bag. When you’re ready to enjoy, bake them straight from the freezer—just add a few extra minutes to the baking time!
What if I don’t have garlic butter?
No garlic butter? No problem! You can easily make your own by melting regular butter and mixing in minced garlic or garlic powder. If you’re in a pinch, just use plain melted butter—your crispy potato cheese bombs will still taste amazing!
Are there any vegetarian options for this recipe?
This recipe is already vegetarian-friendly, but you can make it even heartier by adding sautéed veggies like spinach or roasted bell peppers into the cheese mixture. It’ll add a lovely flavor and boost the nutrition!
Can I make these ahead of time?
Yes, you can prep the potato mixture ahead of time and store it in the fridge for a day. Just make sure to form the balls and coat them in breadcrumbs right before baking for the best results!
Hopefully, these answers help you feel more confident in making these crispy potato cheese bombs. Don’t hesitate to reach out if you have more questions—I’m here to help you create the perfect snack!
Why You’ll Love This Recipe
Quick and easy to prepare: These crispy potato cheese bombs come together in no time, making them a fantastic choice for busy days or last-minute gatherings!
Flavorful and satisfying: With gooey cheese and a buttery garlic coating, each bite is a burst of flavor that’s sure to satisfy your cravings!
Perfect for parties or snacks: Whether you’re hosting a party or just need a tasty snack, these little bombs are a hit with everyone!
Vegetarian-friendly: This recipe is not only delicious but also caters to vegetarians, so everyone can enjoy these delightful treats!
Storage & Reheating Instructions
Alright, let’s talk about how to keep those crispy potato cheese bombs fresh and delicious for later! If you happen to have any leftovers (which I highly doubt, but just in case!), here’s what you need to do:
Once they’ve cooled completely, store your potato bombs in an airtight container. They’ll stay fresh in the fridge for up to 3 days. Just remember, they’re best enjoyed straight out of the oven while they’re still warm and crispy!
If you want to keep them for a longer time, go ahead and freeze them! To do this, place the unbaked potato cheese bombs on a baking sheet in a single layer and freeze them until solid. Then, transfer them to an airtight container or freezer bag. They can be frozen for up to 2 months. When you’re ready to indulge, just pop them straight from the freezer into the oven. Just add a few extra minutes to the baking time, and you’ll have that crispy goodness back in no time!
When it’s reheating time, I recommend using the oven instead of the microwave. This way, you’ll maintain that lovely crunchy texture. Just preheat your oven to 400°F (200°C), place the bombs on a baking sheet, and bake for about 10-15 minutes, or until heated through and crispy again. Trust me, this little extra step makes all the difference!
Now you’re all set to enjoy your crispy potato cheese bombs anytime you want. Happy snacking!
I share easy, flavorful recipes that make home cooking simple, fun, and totally satisfying. Let's get in the kitchen and create something delicious together!


What do you think?
Share your thoughts, tips, or variations on this recipe!