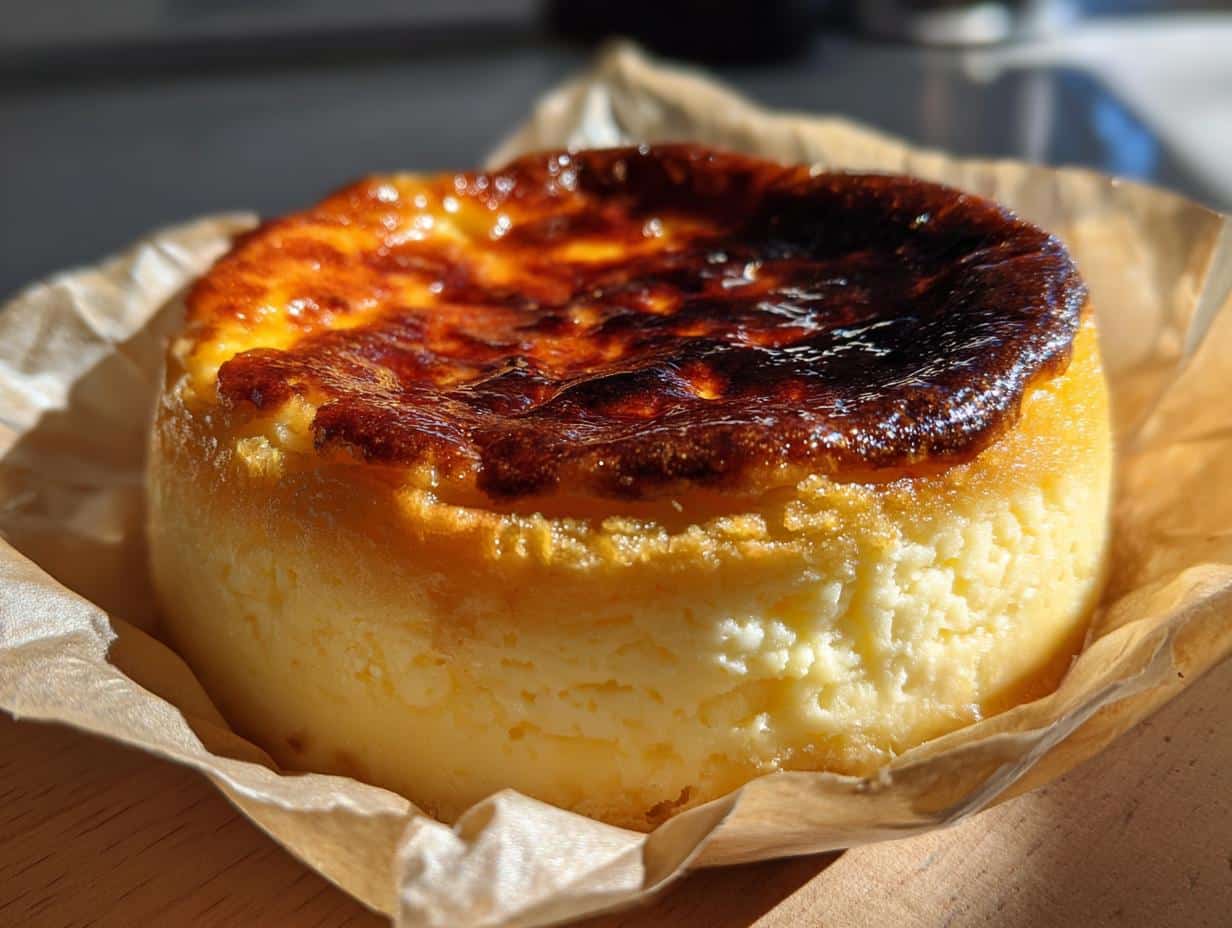
Oh my goodness, have you ever tried a mini Basque cheesecake? It’s like a little piece of Heaven! The rich and creamy texture just melts in your mouth, and don’t even get me started on that beautiful caramelized top. I first stumbled upon this masterpiece during a trip to Spain, and I was instantly hooked. I could barely wait for it to cool before diving in! The combination of flavors is simply divine, and they’re so cute in their little muffin cups. I love serving them at gatherings because they always impress. Plus, they’re incredibly easy to whip up! Trust me on this one, once you make them, you’ll be dreaming about them long after the last bite. Let’s get started on this delicious adventure together!
Ingredients for Mini Basque Cheesecake
Gathering your ingredients is the first step to creating these delightful mini Basque cheesecakes! Here’s what you’ll need:
8 oz cream cheese (softened) – Make sure it’s nice and creamy for the best texture.
1/2 cup granulated sugar – This adds just the right amount of sweetness.
2 large eggs – Room temperature is best; it helps with mixing!
1/2 cup heavy cream – This is where the richness comes from, so don’t skimp!
1 tsp vanilla extract – A splash of vanilla elevates the flavor beautifully.
1/4 cup all-purpose flour – Just a little to give it that perfect structure.
Having everything ready to go will make your baking experience so much smoother. Trust me, you’ll thank yourself later when you’re whipping these up in no time!
Alright, let’s dive into the steps to create these little beauties! Follow along, and I promise you’ll be rewarded with creamy, caramelized goodness in no time.
Preheat Your Oven
The first thing you want to do is preheat your oven to 400°F (200°C). This step is so important! Preheating ensures that your cheesecakes bake evenly and develop that gorgeous caramelized top. Trust me, you don’t want to skip this part—imagine biting into a beautifully browned cheesecake that practically sings with flavor!
Prepare the Muffin Tin
While your oven is heating up, grab a muffin tin and line it with paper liners. This is key because it makes removing the cheesecakes a breeze and keeps them from sticking. Plus, those cute little cups make for an adorable presentation! Just gently press the liners into the cups, and you’re good to go.
Mix the Ingredients
Now let’s get to the fun part—mixing! In a large bowl, beat the softened cream cheese and granulated sugar together until it’s nice and smooth. I usually use an electric mixer for this part, but a sturdy whisk works too if you’re feeling adventurous! Once that’s creamy, add the eggs one at a time, mixing well after each addition. Next, pour in the heavy cream and vanilla extract, and mix until fully combined. Finally, fold in the flour gently—just until incorporated. You want to be careful here; overmixing can lead to a dense texture, and we’re aiming for light and fluffy!
Bake the Cheesecakes
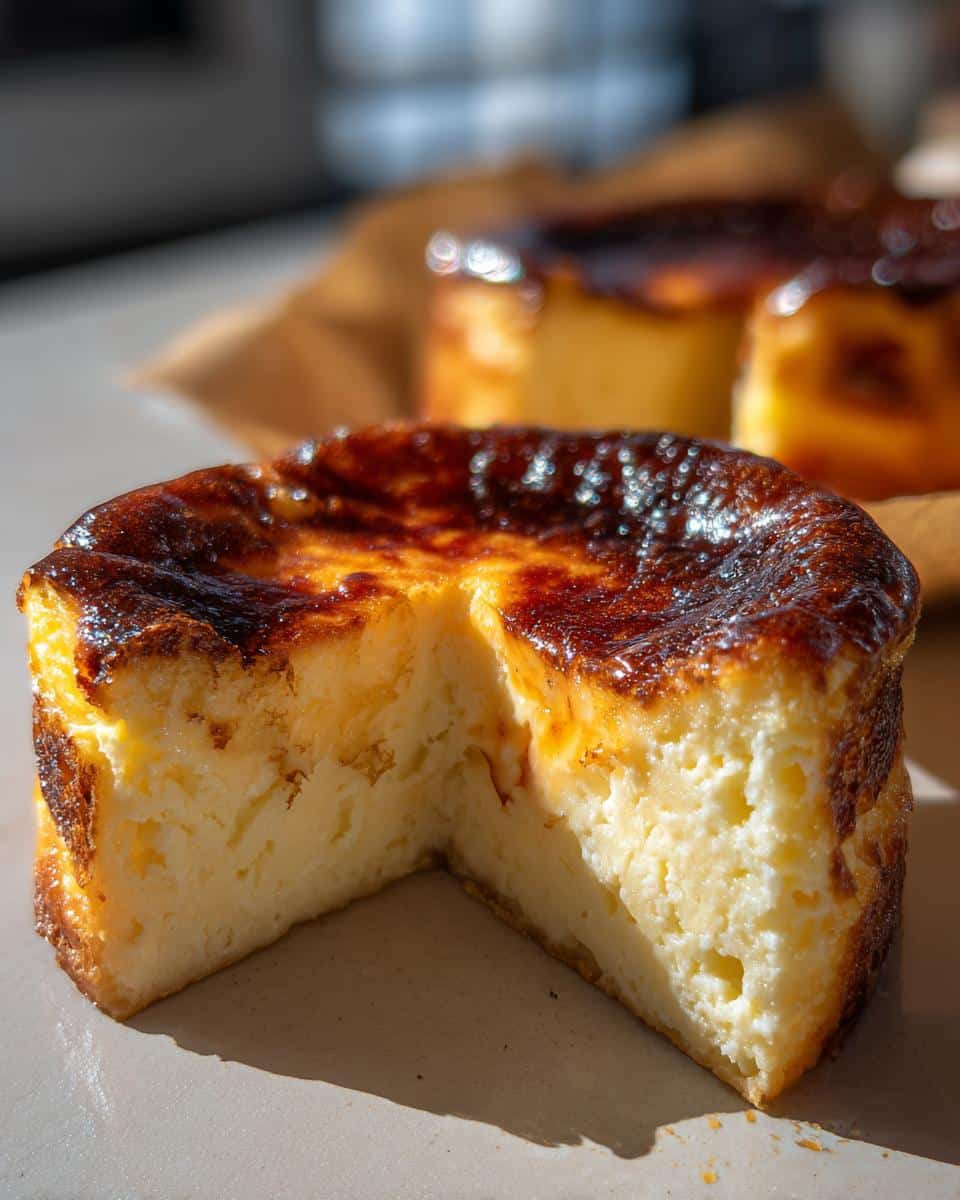
Time to bake! Divide the cheesecake batter evenly among the muffin cups, filling them about 3/4 full. Pop them into your preheated oven and bake for 20-25 minutes. You’ll know they’re done when the tops are beautifully browned and slightly puffed. Don’t worry if they look a little wobbly in the center; they’ll firm up as they cool!
Cooling and Serving
Once they’re out of the oven, let the mini cheesecakes cool in the muffin tin for a bit before transferring them to a wire rack. Cooling is crucial because it helps the texture settle just right. For the best experience, I recommend chilling them in the fridge for at least an hour before serving. They’re delicious on their own, but you can elevate them with toppings like fresh fruit or a dollop of whipped cream. The contrast of the creamy cheesecake with a fruity burst is simply divine!
Why You’ll Love This Recipe
Quick preparation: These mini Basque cheesecakes come together in just about 15 minutes of hands-on time, so you can whip them up whenever the craving strikes!
Rich flavor: With that luscious creaminess and hint of caramelization, each bite is a heavenly experience that will keep you coming back for more.
Perfect for gatherings: Whether it’s a birthday party, holiday feast, or just a cozy get-together, these cheesecakes are always a showstopper that impresses your guests.
Easy to customize: You can play around with toppings or mix-ins like chocolate, fruit, or even a swirl of caramel to make them uniquely yours!
Tips for Success
Alright, let’s make sure your mini Basque cheesecakes turn out absolutely perfect! Here are my top tips to keep in mind as you bake:
Soften Your Cream Cheese: This is a must! Make sure your cream cheese is at room temperature before you start mixing. It’ll blend so much easier, giving you that smooth, creamy texture we’re after. If you forget to take it out ahead of time, you can microwave it for about 10-15 seconds—just keep an eye on it so it doesn’t melt!
Don’t Overmix: When you’re combining the ingredients, be gentle! Overmixing can lead to a denser cheesecake, and we want our mini Basque cheesecakes to be light and fluffy. Just mix until everything is combined and you’re good to go!
Allow Proper Cooling Time: I know it’s tempting to dive right in, but giving your cheesecakes time to cool is crucial for the best texture. Let them cool in the muffin tin for a bit, then transfer them to a wire rack. For an even better experience, chill them in the fridge for at least an hour before serving. Trust me, the wait is worth it!
Follow these tips, and you’ll be well on your way to mini cheesecake perfection! Enjoy the baking journey!
Nutritional Information
When it comes to delicious treats like mini Basque cheesecakes, it’s good to know what you’re getting, right? Here’s a general idea of the nutritional values per cheesecake:
Serving Size: 1 cheesecake
Calories: 200
Fat: 15g
Saturated Fat: 9g
Unsaturated Fat: 3g
Trans Fat: 0g
Cholesterol: 70mg
Sodium: 150mg
Carbohydrates: 15g
Fiber: 0g
Sugar: 10g
Protein: 3g
Keep in mind that these values can vary based on the specific ingredients and brands you use. So, while this is a helpful guide, it’s not an exact science. Always feel free to adjust based on your preferences or dietary needs. Enjoy every creamy, dreamy bite guilt-free!
FAQ Section
Got questions about mini Basque cheesecakes? No worries! I’ve got the answers to help you along your baking journey. Let’s tackle some of the most common inquiries:
Can I make these mini Basque cheesecakes ahead of time?
Absolutely! These little delights are perfect for making in advance. I often whip them up a day or two before a gathering. Just make sure to let them cool completely and then chill in the fridge until you’re ready to serve. They’ll taste just as delicious!
What can I substitute for cream cheese?
If you’re looking for alternatives, you can try using mascarpone cheese for a richer flavor or even a vegan cream cheese if you want a dairy-free option. Just keep in mind that the texture and taste may vary a bit, but it can be a fun twist!
How do I store leftovers?
Storing these cheesecakes is super easy! Place any leftovers in an airtight container in the fridge, and they’ll keep well for up to 3 days. Just make sure to enjoy them chilled; that’s when they taste their best!
If you have any more questions, feel free to ask. Happy baking!
Serving Suggestions
Now that you’ve whipped up these delightful mini Basque cheesecakes, let’s talk about how to serve them for maximum enjoyment! There are so many delicious options that pair beautifully with their rich, creamy texture.
Coffee: A nice cup of coffee, whether it’s a bold espresso or a creamy latte, complements the cheesecakes perfectly. The warmth of the coffee enhances the flavors and makes for a cozy treat!
Dessert Wines: If you’re feeling fancy, a glass of dessert wine, like a sweet Riesling or a lovely Port, will elevate your cheesecake experience. The sweetness of the wine balances the richness of the cheesecake beautifully.
Fresh Berries: Serve with a side of fresh berries, like strawberries, raspberries, or blueberries. Their tartness cuts through the creaminess and adds a pop of color to your plate!
Whipped Cream: A dollop of whipped cream on top is a classic choice! It adds an airy lightness that pairs wonderfully with the dense cheesecake.
Chocolate Sauce: Drizzle some chocolate or caramel sauce over the top for a decadent twist. The sweetness of the sauce adds another layer of indulgence!
Feel free to mix and match these suggestions to create your perfect dessert experience. Enjoy every bite, and don’t forget to share with friends—if you can resist the temptation, that is!
I share easy, flavorful recipes that make home cooking simple, fun, and totally satisfying. Let's get in the kitchen and create something delicious together!


What do you think?
Share your thoughts, tips, or variations on this recipe!