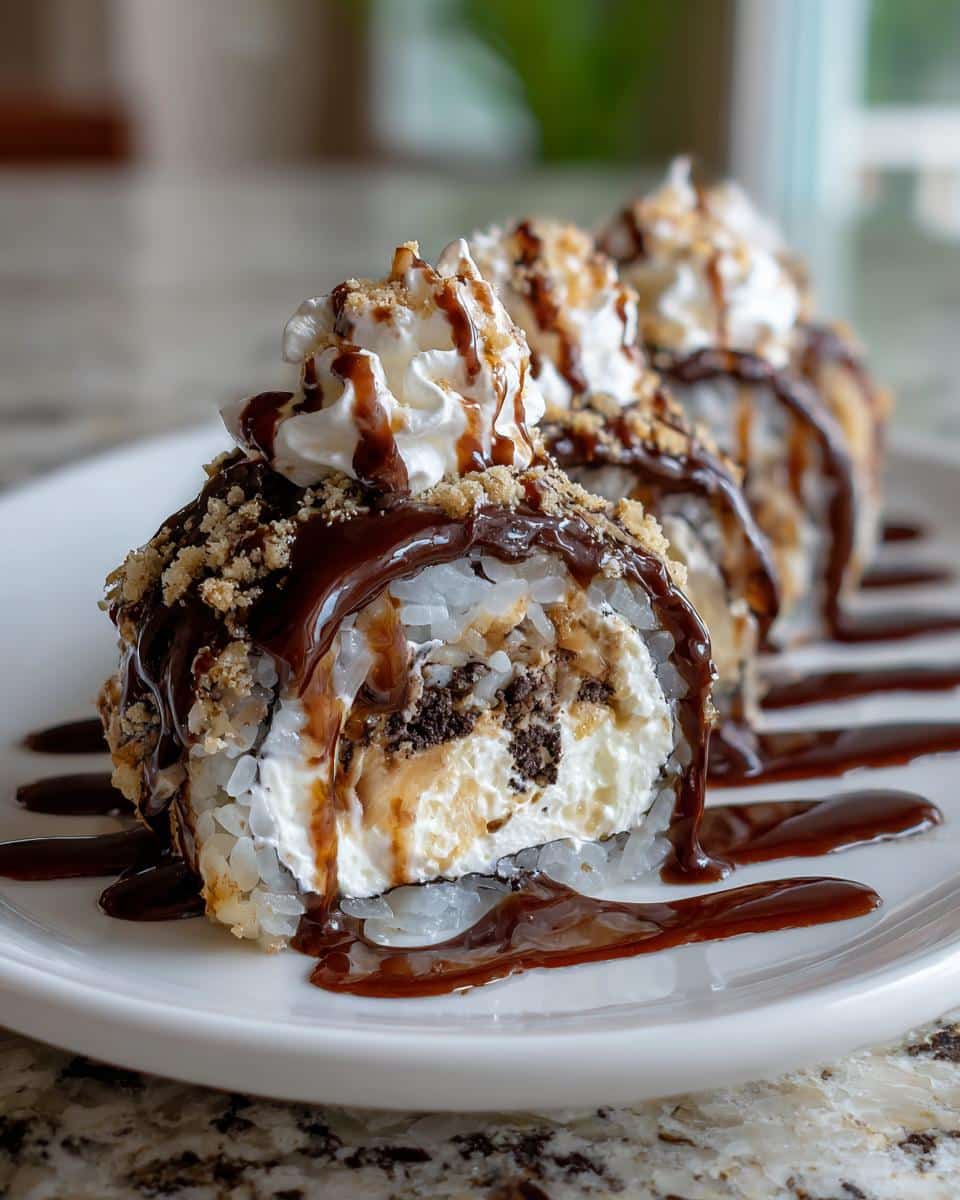
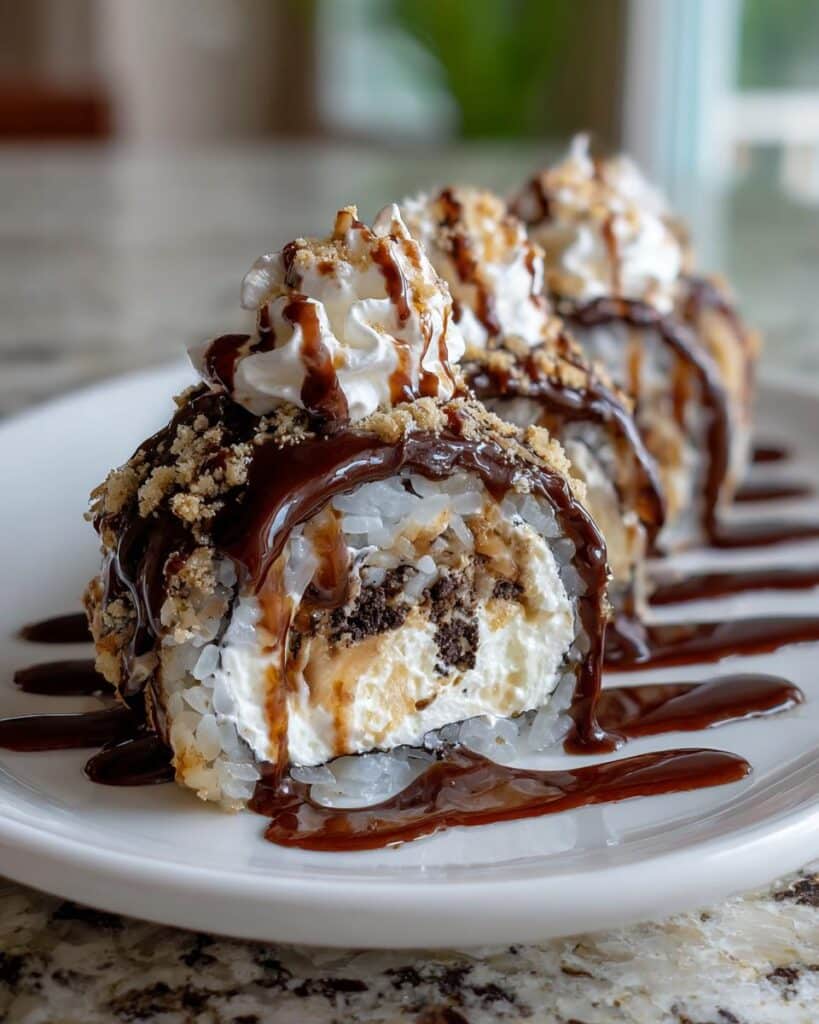
Oh my goodness, have you ever thought about combining the iconic flavors of Oreo cookies and creamy cheesecake into a fun sushi roll? Trust me, this oreo cream cheese cheesecake sushi roll is a total game changer! It’s like a sweet little surprise that looks fancy but is super simple to whip up.
The rich, velvety cream cheese mixed with crunchy Oreo crumbs, all rolled up in a layer of sticky rice and nori, creates an unexpected treat that’ll wow your friends and family. Perfect for parties, movie nights, or just because, this dessert adds a playful twist to classic cheesecake that you absolutely have to try!
Ingredients List
8 Oreo cookies, crushed into fine crumbs
8 oz cream cheese, softened to room temperature
1/4 cup granulated sugar
1 tsp vanilla extract
2 cups rice, cooked and cooled (sushi rice works best)
4 sheets of nori seaweed
1/4 cup chocolate syrup, for drizzling
1/4 cup whipped cream, for topping
How to Prepare the Oreo Cream Cheese Cheesecake Sushi Roll
Start by crushing your Oreo cookies into fine crumbs. I usually pop them in a zip-top bag and smash them with a rolling pin—super satisfying!
In a medium bowl, mix the softened cream cheese, sugar, and vanilla extract until it’s smooth and creamy. You can use a hand mixer or just a good old fork if you’re feeling strong!
Add the crushed Oreos to the cream cheese mixture and blend until everything is well combined. The mixture should look deliciously thick and have that beautiful speckled Oreo color.
Now it’s time to prepare your sushi rolling station! Lay a sheet of nori on a bamboo mat, shiny side down. This helps the rice stick better.
Spread a layer of your cooked and cooled rice over the nori, leaving about an inch of space at the top. Make sure it’s even—this is crucial for a tight roll!
Next, take that delightful Oreo cream cheese mixture and spread a generous layer over the rice. You want enough to get that creamy goodness in every bite, but don’t overdo it or it might ooze out when you roll!
Now, the fun part! Using your bamboo mat, roll the sushi tightly from the bottom up, applying gentle pressure as you go. Don’t worry if it feels a bit tricky—practice makes perfect!
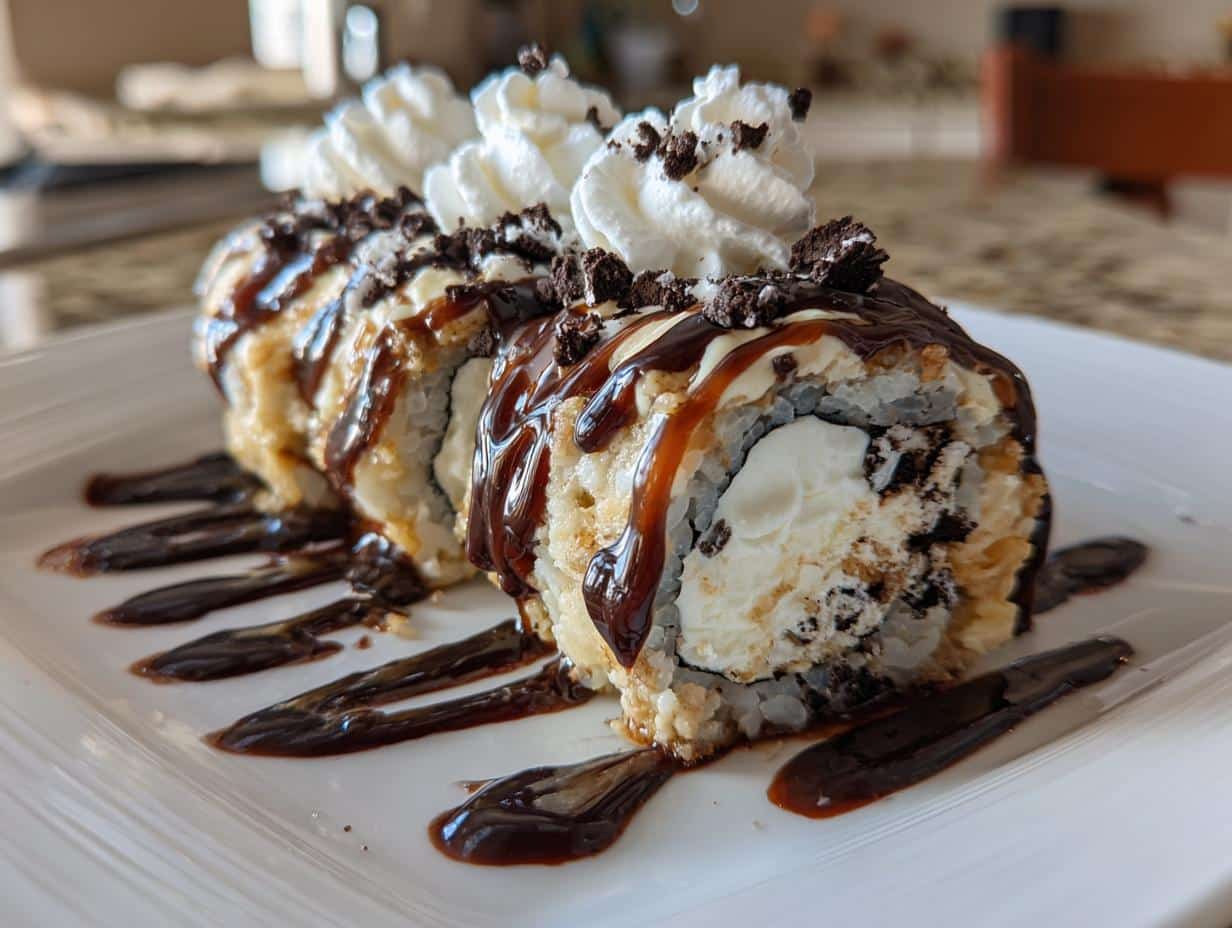
Once you’ve got a nice tight roll, it’s time to slice. Use a sharp knife and wet it lightly to prevent sticking. Cut the roll into bite-sized pieces. You’ll want to clean the knife between cuts for the prettiest slices!
Before serving, drizzle with chocolate syrup and top with a dollop of whipped cream. Wow, it looks stunning and tastes even better!
Why You’ll Love This Recipe
It’s a super fun twist on traditional cheesecake that’ll impress everyone!
Quick and easy to make—perfect for those last-minute dessert cravings.
Combines the beloved flavors of Oreo and creamy cheesecake in every bite.
No baking required, which means less mess and more time to enjoy!
Great for parties or casual gatherings—everyone loves a sweet sushi roll!
Customizable with toppings and flavors, so you can get creative!
Tips for Success
Chill the mixture: After mixing your cream cheese and Oreo filling, pop it in the fridge for about 15-20 minutes. This makes it easier to spread and helps it hold its shape when you roll it up.
Wet your knife: When you’re ready to slice the sushi rolls, make sure to wet your knife with a little water. This prevents the rolls from sticking and gives you clean, beautiful cuts—no one likes a messy slice!
Don’t be afraid to experiment: Feel free to switch up the toppings! You can add sprinkles, crushed nuts, or even a drizzle of caramel for a fun twist. Let your creativity shine!
Use sushi rice: If you want the best texture, sushi rice is your friend! It’s sticky and holds together beautifully, making it perfect for these rolls.
Practice makes perfect: Rolling can be a bit tricky at first, but don’t worry! The more you practice, the better you’ll get. Just take your time, and soon you’ll be a sushi roll pro!
Variations
Peanut Butter Delight: Swirl in some creamy peanut butter into the cream cheese mixture for a nutty twist that pairs perfectly with Oreos.
Fruit Fusion: Add some chopped strawberries or banana slices to the filling for a fruity pop of flavor that brightens up the dessert.
Minty Fresh: Incorporate a few drops of peppermint extract into the cream cheese mixture for a refreshing mint Oreo version.
Chocolate Overload: Use chocolate-covered Oreos instead of regular ones for an extra chocolatey flavor, or drizzle with even more chocolate syrup!
Cookie Dough Crunch: Fold in some edible cookie dough pieces into the cream cheese mixture for that delightful cookie dough experience in every bite.
Nutty Crunch: Sprinkle some crushed nuts, like almonds or walnuts, on top before serving for an added crunch and nutty flavor.
Storage & Reheating Instructions
Okay, so you’ve made this delicious oreo cream cheese cheesecake sushi roll, and now you have some leftovers (if that’s even possible!). Here’s how to store them so they stay fresh and fabulous:
Refrigeration: Place any leftover sushi rolls in an airtight container and pop them in the fridge. They’ll stay good for about 2-3 days—just make sure to eat them before they disappear!
Serving chilled: These rolls are best enjoyed cold, so there’s no need to reheat them. Just take them out of the fridge, drizzle with a little more chocolate syrup if you like, and enjoy!
Freezing: If you want to save some for later, you can freeze them! Wrap each roll tightly in plastic wrap and then place them in a freezer-safe bag. They can last up to a month in the freezer. When you’re ready to indulge, thaw them overnight in the fridge.
Fresh toppings: If you’ve added whipped cream or other toppings, it’s best to freshen those up right before serving. Just whip a little more cream or drizzle some syrup on top for that extra touch!
With these simple storage tips, you can enjoy your oreo cream cheese cheesecake sushi roll even after the initial excitement of making it! Happy storing!
Before you dive into this delicious oreo cream cheese cheesecake sushi roll, it’s good to know what you’re getting! Just keep in mind that nutritional values can vary based on the specific ingredients and brands you use. Here’s an estimated breakdown per serving (1 roll):
Calories: 300
Fat: 15g
Saturated Fat: 8g
Unsaturated Fat: 5g
Trans Fat: 0g
Cholesterol: 30mg
Sodium: 150mg
Carbohydrates: 35g
Fiber: 1g
Sugar: 20g
Protein: 4g
So there you have it! A sweet treat that’s both indulgent and fun to make. Enjoy every bite while keeping these numbers in mind—balance is key, right?
FAQ Section
Can I use different cookies instead of Oreos? Absolutely! While Oreos give that classic flavor, you can swap them for other types of cookies like chocolate sandwich cookies or even graham crackers for a different twist. Just keep in mind that the taste will change a bit, but it’ll still be delicious!
How can I make the sushi rolls more colorful? You can add colorful toppings like sprinkles, or even incorporate some fruit slices like strawberries or kiwi on the top. This not only makes it visually appealing but also adds a fresh taste to your oreo cream cheese cheesecake sushi roll.
How long can I store the sushi rolls? These rolls are best enjoyed fresh, but you can store them in an airtight container in the refrigerator for about 2-3 days. Just remember, they’re best served cold, so straight from the fridge is perfect!
Can I make the filling ahead of time? Yes! You can prepare the Oreo cream cheese mixture a day in advance. Just store it in the fridge in an airtight container. This way, when you’re ready to roll, everything is ready for you!
What if I don’t have a bamboo mat? No worries! If you don’t have a bamboo mat, you can use parchment paper or even a clean kitchen towel. Just be careful to roll tightly and keep the filling from spilling out!
I share easy, flavorful recipes that make home cooking simple, fun, and totally satisfying. Let's get in the kitchen and create something delicious together!


What do you think?
Share your thoughts, tips, or variations on this recipe!