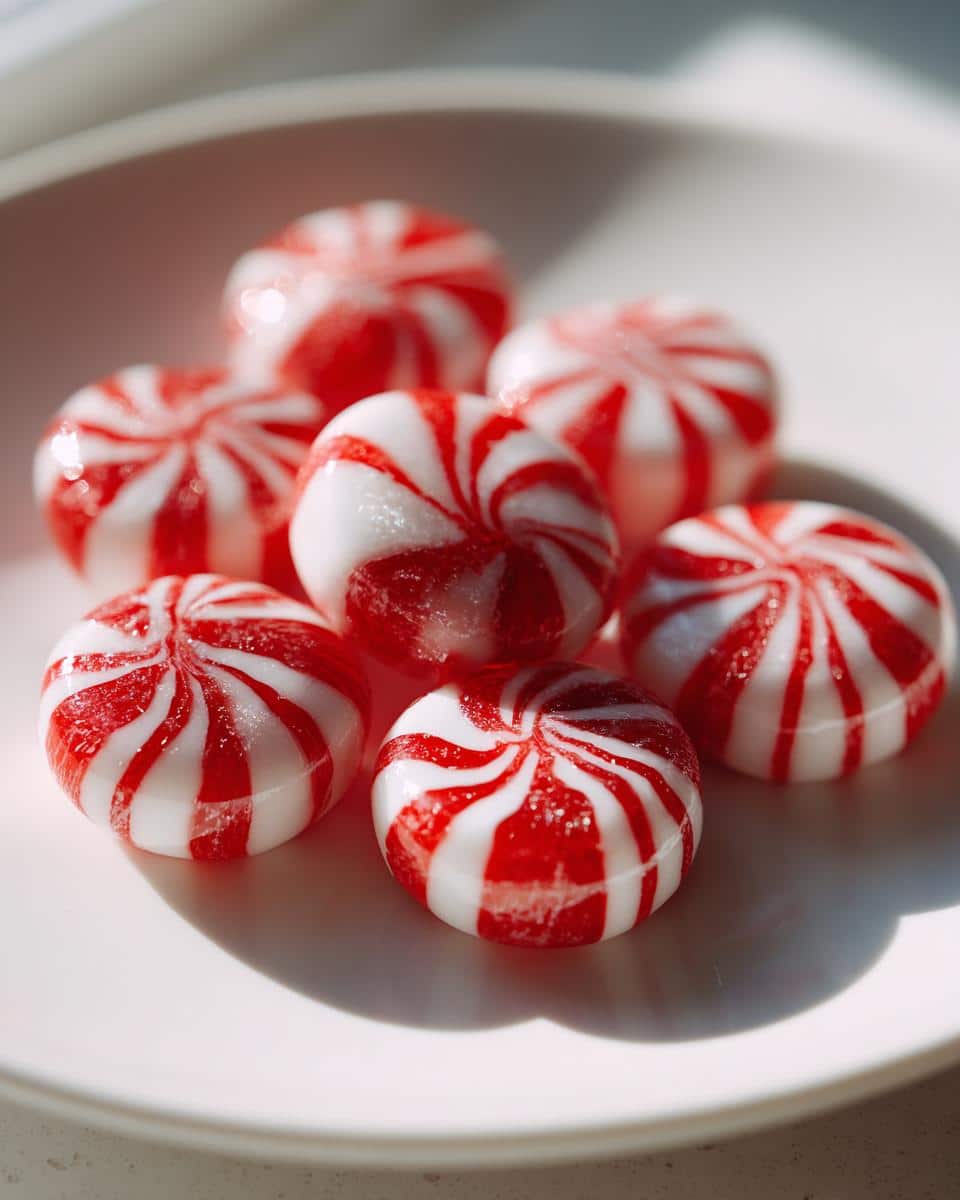
Ah, the holiday season! There’s something magical about it, isn’t there? One of my absolute favorite traditions is making soft Christmas peppermints. The delightful scent of peppermint fills the air, and it instantly brings back memories of cozy family gatherings and cheerful decorations.
Trust me, there’s nothing quite like the joy of creating these sweet little treats to share with loved ones. They’re not only delicious but also so easy to make! Plus, you can have fun with colors and shapes, turning them into beautiful gifts.
Each batch is a little piece of holiday cheer, perfect for snacking or tucking into gift boxes. So, let’s dive into this festive adventure together and create some soft Christmas peppermints that will brighten anyone’s day!
Gather these simple, festive ingredients to whip up your soft Christmas peppermints. Each one plays a vital role in creating those melt-in-your-mouth delights. Here’s what you’ll need:
2 cups powdered sugar
2 tablespoons light corn syrup
1/2 teaspoon peppermint extract
1/4 cup water
Red food coloring (for that classic holiday look)
1/4 teaspoon cream of tartar
These ingredients come together to create the perfect blend of sweetness and minty freshness. Make sure you’ve got everything on hand before you start, and let’s create some holiday magic!
How to Prepare Soft Christmas Peppermints
Making soft Christmas peppermints is a delightful adventure! Follow these simple steps, and you’ll be on your way to creating these minty treats in no time. Let’s get rolling!
Step 1: Combine Ingredients
Start by grabbing a large mixing bowl. Add in the powdered sugar, corn syrup, peppermint extract, water, and cream of tartar. I like to mix the dry ingredients first before adding the wet ones to keep things from getting too sticky right away. Once everything’s in there, whisk it together until you see no dry lumps. It’ll look a bit like a gooey paste at first, but don’t worry; it’ll come together soon!
Step 2: Knead the Mixture
Now it’s time to roll up your sleeves! Lightly dust your countertop with powdered sugar to prevent sticking, then pour your mixture onto it. Knead the dough with your hands until it’s smooth and pliable—this usually takes about 5-10 minutes. It should feel like soft play dough, not too sticky and easy to shape. If it’s too sticky, sprinkle a bit more powdered sugar while kneading.
Step 3: Divide and Color
Next, divide the smooth dough into two equal pieces. With one piece, take out your red food coloring. Add a few drops to the dough and knead it until the color is evenly distributed. I love doing this part; it’s like playing with edible clay! Don’t be shy—go for that vibrant red for a festive touch.
Step 4: Roll and Twist
Now, roll both pieces of dough into thin ropes—about 1/4 inch thick. Aim for uniformity here; it makes for prettier peppermints! Once you have your ropes, twist them together to create that iconic peppermint look. I usually twist them tightly but not too tight—just enough to keep them together without squishing them flat!
Step 5: Cut and Dry
Using a sharp knife, cut the twisted ropes into small pieces, about an inch long. This is the fun part—you can make them as big or small as you like! Once cut, place them on a parchment-lined baking sheet and let them dry for 24 hours. This drying time is crucial for that heavenly chewy texture. Trust me, the wait is worth it!
Why You’ll Love This Recipe
Quick and easy to make—perfect for busy holiday schedules!
Brings a festive spirit into your kitchen with that wonderful peppermint aroma.
Fun for the whole family; kids love helping out with the rolling and twisting!
Great for gifting; they look adorable in a decorative box or jar.
Customizable with colors and flavors—get creative with your holiday designs!
Deliciously soft and chewy, making them a delightful treat for everyone.
Tips for Success
To ensure your soft Christmas peppermints turn out perfectly, here are some of my favorite tips! First, don’t rush the kneading process; it’s essential for achieving that smooth, pliable dough. If your mixture feels too sticky, sprinkle in a little more powdered sugar, but be careful not to overdo it—just a bit at a time!
Also, when it comes to coloring, you can get creative! Try using green or even a mix of colors for a fun twist. Just remember to knead well until the color is even. And when cutting the peppermints, a sharp knife works best for clean edges. Lastly, patience is key—allow them the full 24 hours to dry for that perfect chewy texture. You’ve got this!
Nutritional Information for Soft Christmas Peppermints
These soft Christmas peppermints are not just a treat for the taste buds but also come with some nutritional details to keep in mind. Each piece contains approximately 50 calories, with 12 grams of sugar and no fat. It’s a sweet indulgence that fits well into your holiday festivities! Remember, these are estimates, and your actual values may vary slightly based on ingredient variations. Enjoy them in moderation, and let the holiday spirit shine through with every delightful bite!
FAQ about Soft Christmas Peppermints
Can I use different flavors instead of peppermint? Absolutely! While peppermint is a classic, you can try using other extracts like vanilla or almond for a unique twist. Just be sure to adjust the quantity to your taste.
How should I store soft Christmas peppermints? Store them in an airtight container at room temperature for up to two weeks. They’ll stay soft and chewy, ready for snacking or gifting!
Can I make these in advance? Yes! These peppermints are perfect for making ahead of time. Just allow them to dry for the full 24 hours and then store them until you’re ready to enjoy or gift them.
What if the dough is too sticky? If your dough feels sticky, don’t worry! Just sprinkle in a little more powdered sugar while kneading until it reaches that lovely, smooth texture.
Are these soft Christmas peppermints suitable for vegans? Yes! All the ingredients in this recipe are plant-based, making them a delightful treat for everyone to enjoy during the holidays!
I share easy, flavorful recipes that make home cooking simple, fun, and totally satisfying. Let's get in the kitchen and create something delicious together!


What do you think?
Share your thoughts, tips, or variations on this recipe!